Installing the Pure Storage plugin for Veeam Backup & Recovery Snapshot Integration
Whew, that title is a mouthful. This post will cover the installation and configuration of the Pure Storage plugin for Veeam Backup & Recovery, but we’ll incorporate some background first.
One of the most significant enhancements released with Veeam 9.5U3 is one from which most users have not seen direct improvement — until now. The specific enhancement that I am referring to is the Universal Storage API, which is the framework that storage vendors can leverage to integrate their storage arrays to allow for Veeam to offload snapshots for backup & recovery operations to the array, rather than relying on VMware snapshots.
While Veeam Storage Snapshots are not new - this capability has been available for EMC, HPE, and NetApp arrays for many versions - there have been may more recent additions of vendor integrations which have increased the number of compatible storage devices.
Even just since the release of version 9.5, Veeam has added the capabilities of native array snapshots for Cisco HyperFlex, and recently with the Universal Storage API, additional vendor array integrations are now available - IBM SVC/Storwize, Infinidat, and Pure Storage. (Corrected as I had originally not called out IBM SVC as dependent on the Universal Storage API).
A personal endorsement here: For those of you who have not had the pleasure of working with a Pure Storage array, I cannot express strongly enough how great it has been to work with this piece of gear has been thus far. The last hardware platform that I’ve worked with that has excited me this much during my career was Cisco UCS.
Being an infrastructure engineer who manages 17 UCS domains globally and geeks out on UCS daily, the fact that a single storage array got me excited about a Friday night install at the very end of a 60 hour week (including a second array outage from another storage vendor), that’s saying A LOT.
Before I put my Pure fanboy praise on hold; I will say that I doubt I will ever see another array in my career that I can get from unboxing to install to automated deployment/provisioning in just over 2 hours.
It also took just over a dozen lines of code, and with only reading through the PowerShell module help.
OK, now getting back to the reason you’re probably here. Getting your Veeam Backup and Recovery environment integrated with your Pure Storage array. Time to get started:
As always, begin with ensuring that you have a fresh Veeam configuration & database backup. Disable any Veeam jobs (be sure this includes backup copy and replication jobs) and close the Veeam B&R interface.
Once we have a good backup in case you run into installation issues, extract the installer which is currently PureStoragePlugin_1.0.37.exe.
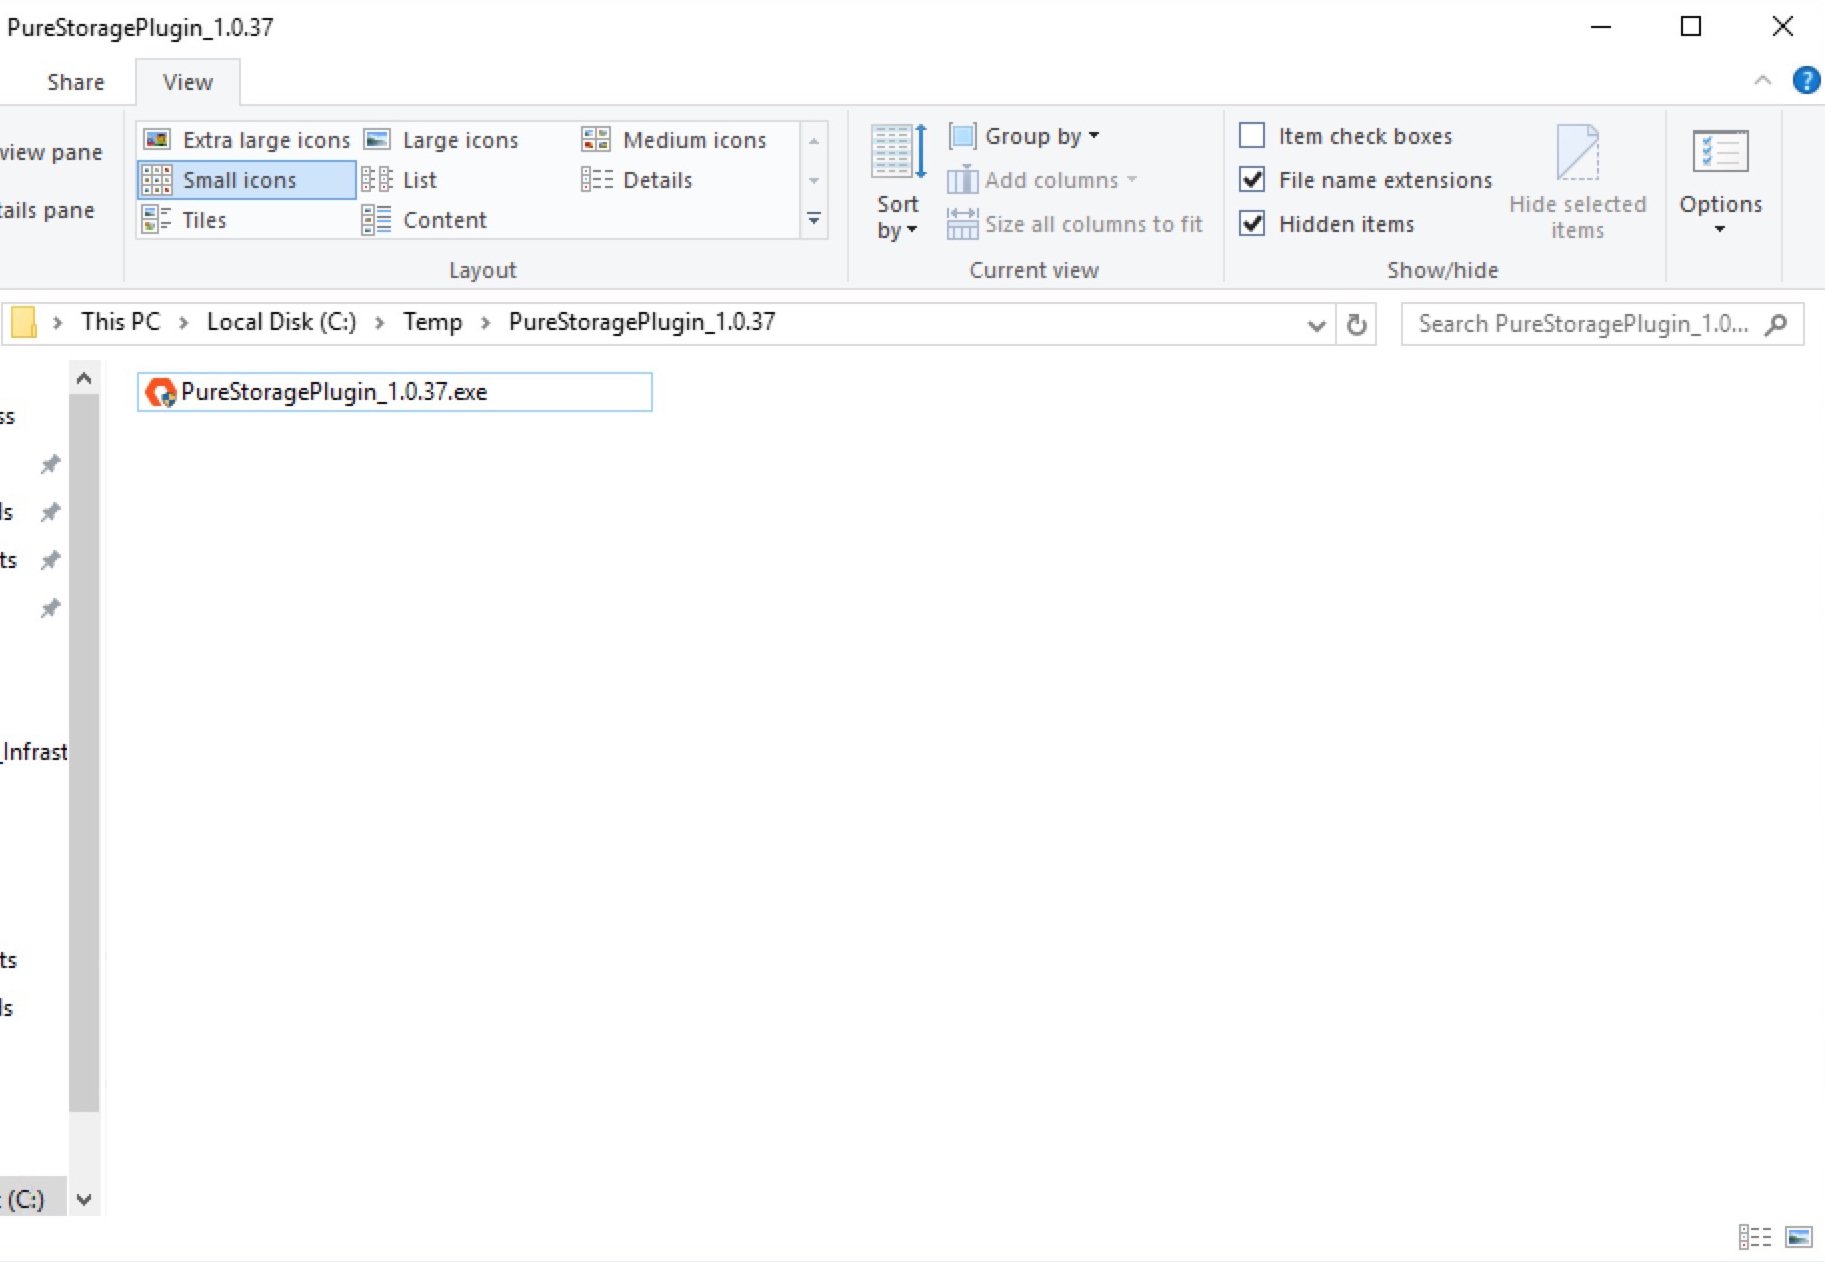
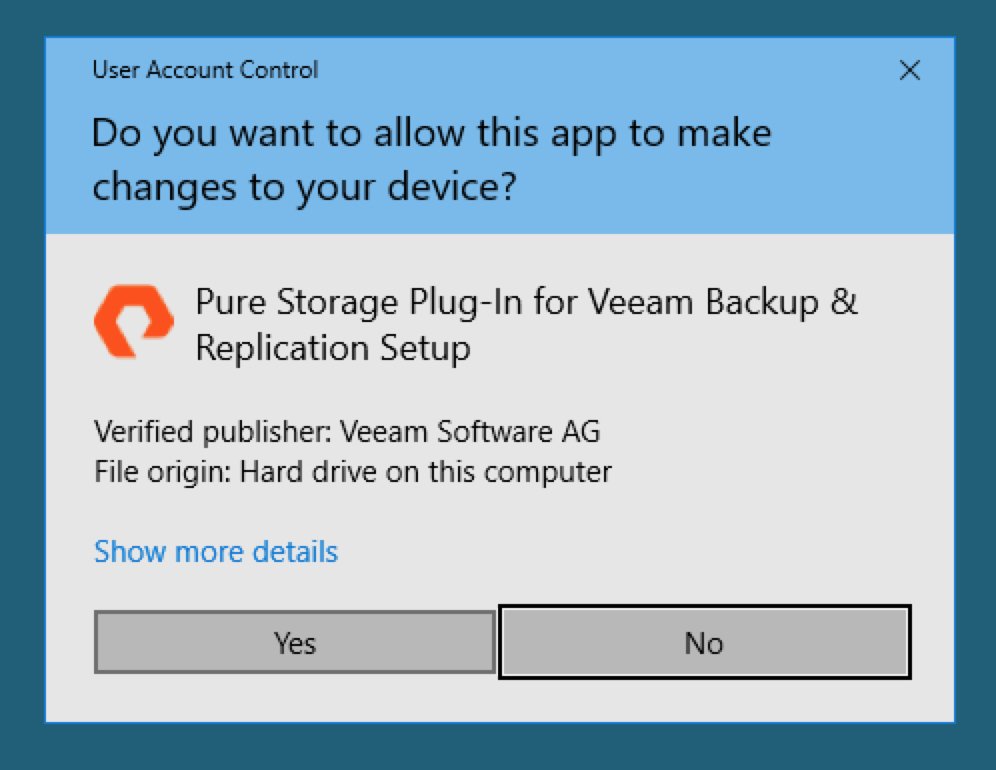
Launch the executable and approve the UAC elevation prompt to launch the “Pure Storage Plug-In for Veeam Backup & Replication” InstallShield wizard.
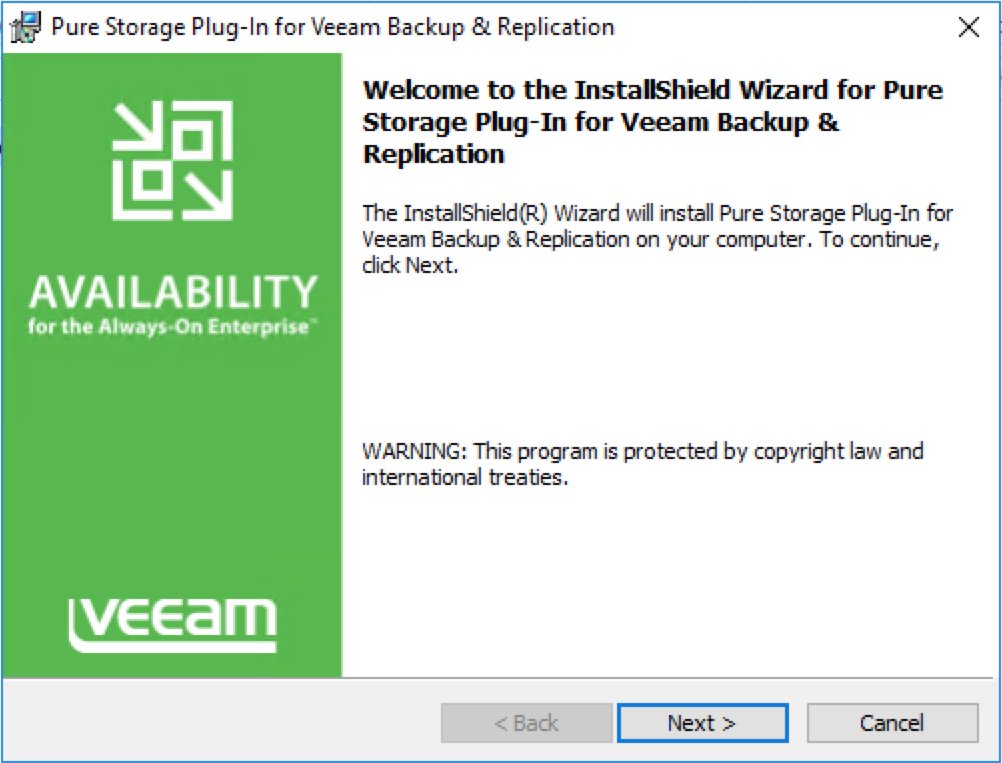
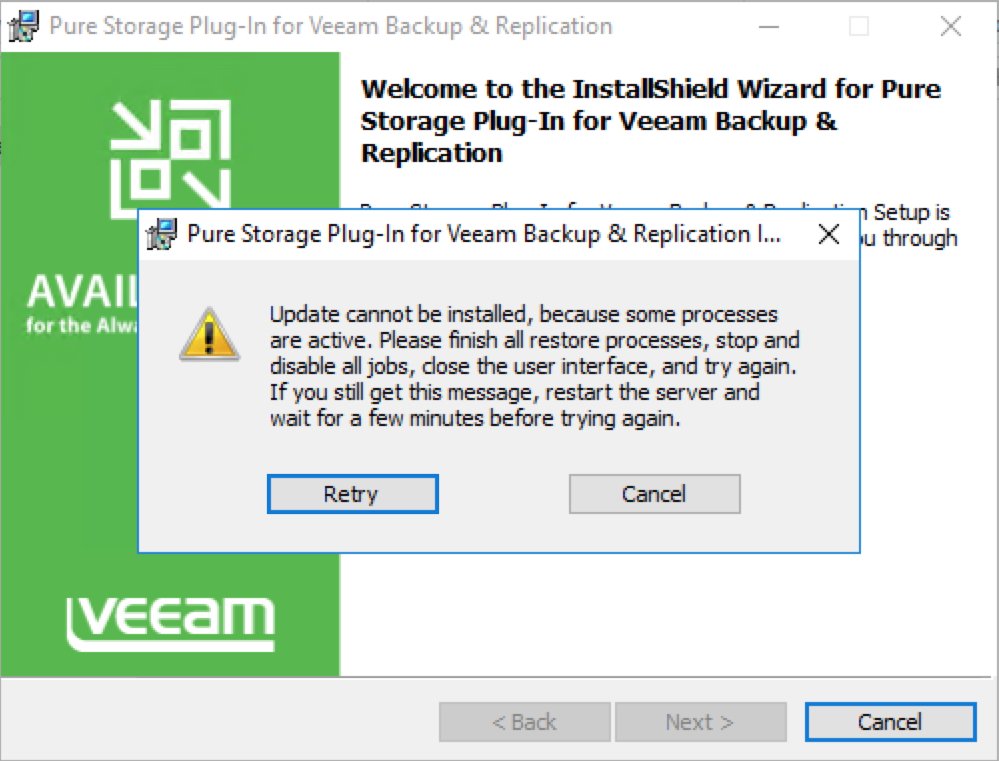
If you did not stop/disable any running jobs, or if there are any instances of the Veeam B&R UI still running, the installer will prompt you to do this and retry. If you are still facing this issue after you have stopped active jobs and closed the UI for all user sessions, restart the Veeam B&R server and attempt the installation again.
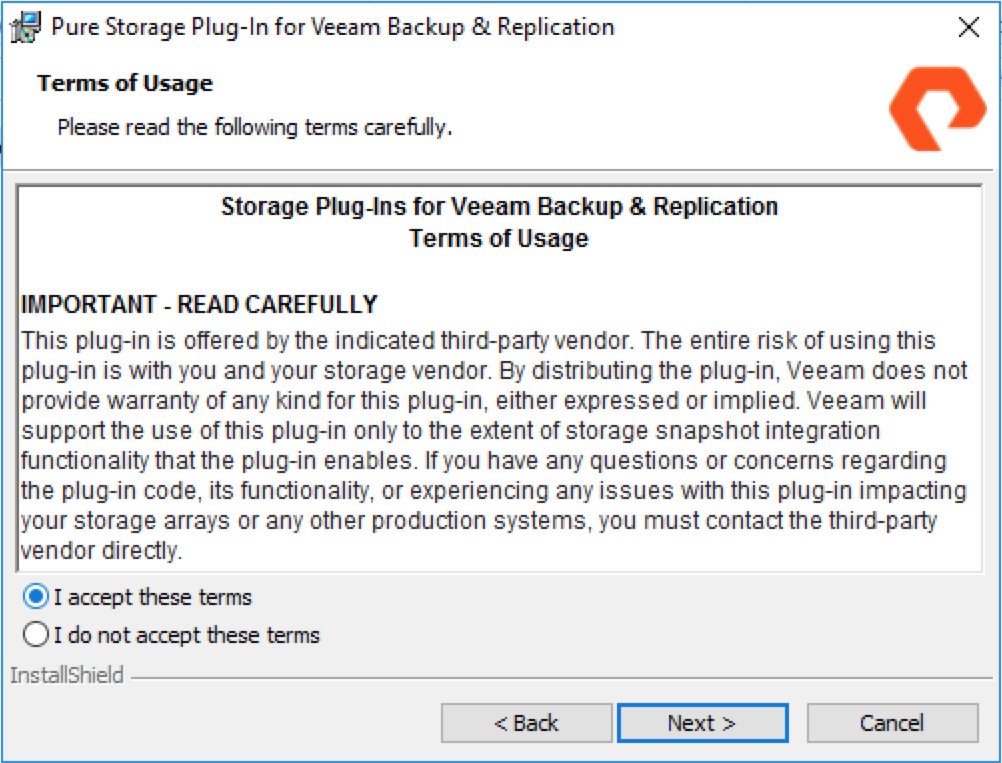
Accept the terms of use to proceed with the installation.
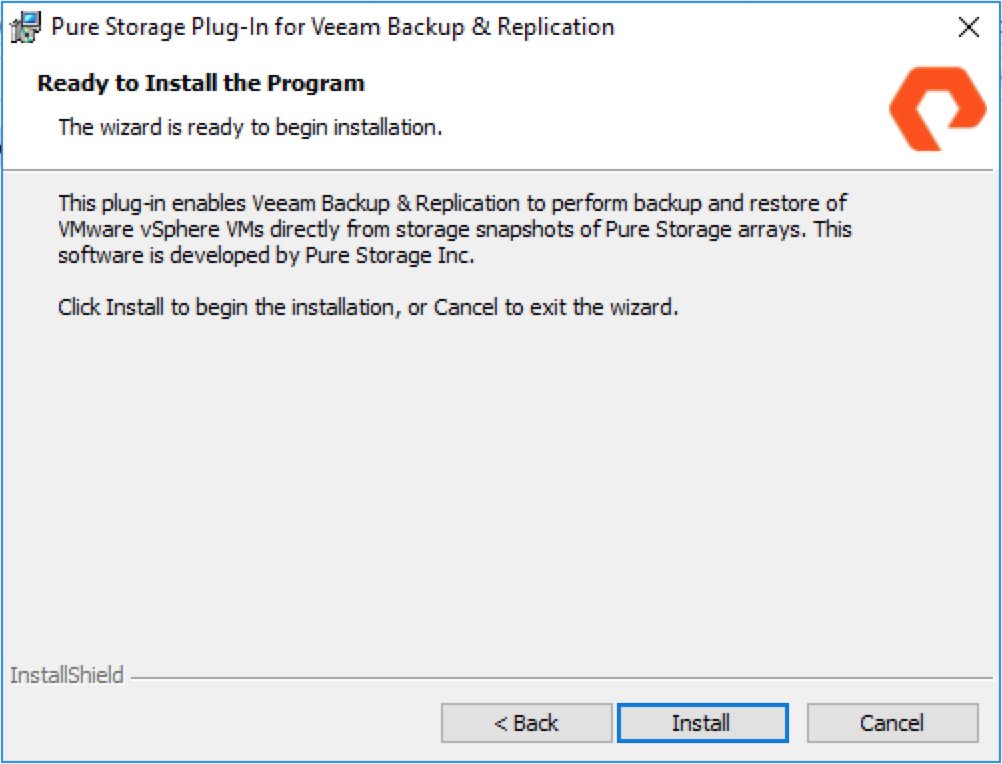
The Pure Plug-In is now ready for install.
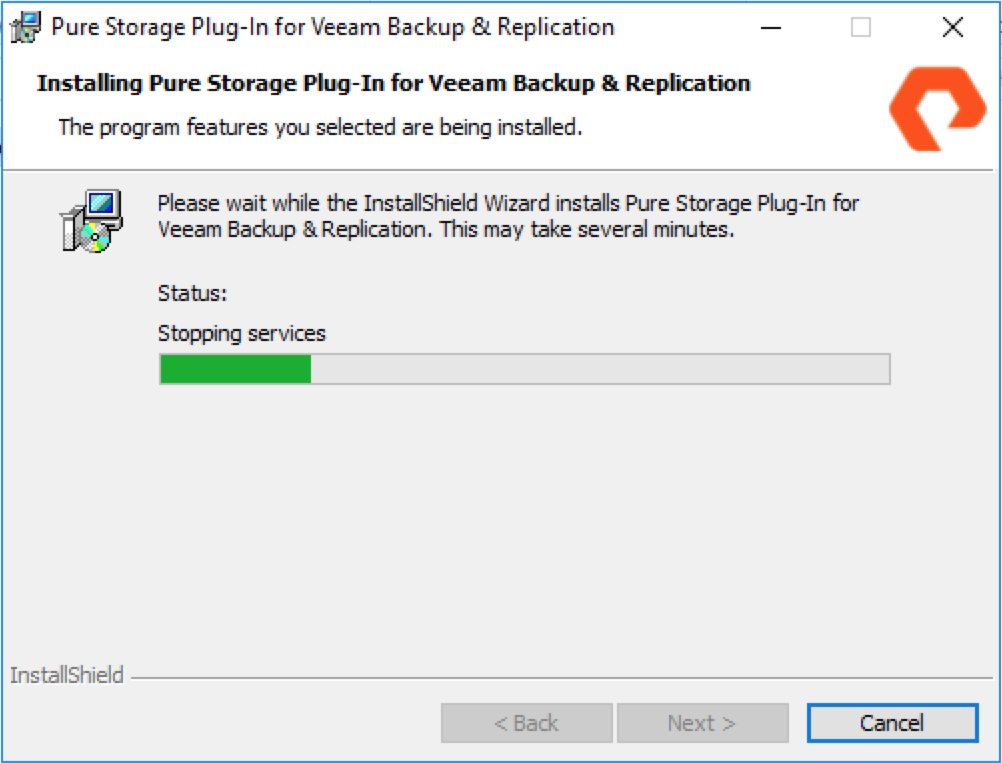
The installer will now stop the Veeam services to perform the installation.
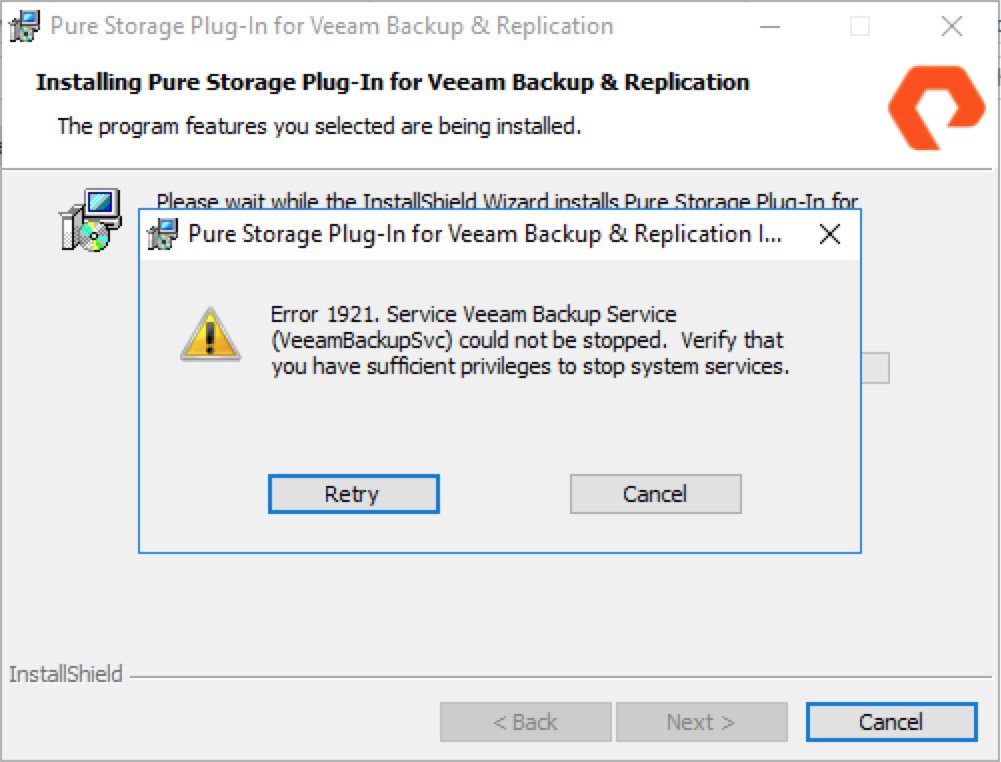
I ran into an instance where the installer hit the timeout value for stopping Veeam services. I pulled up a PowerShell session to watch the Veeam services to see when that had been stopped to proceed.
After the Veeam services have been stopped, the installer will finish the plug-in installation and restart the Veeam services.
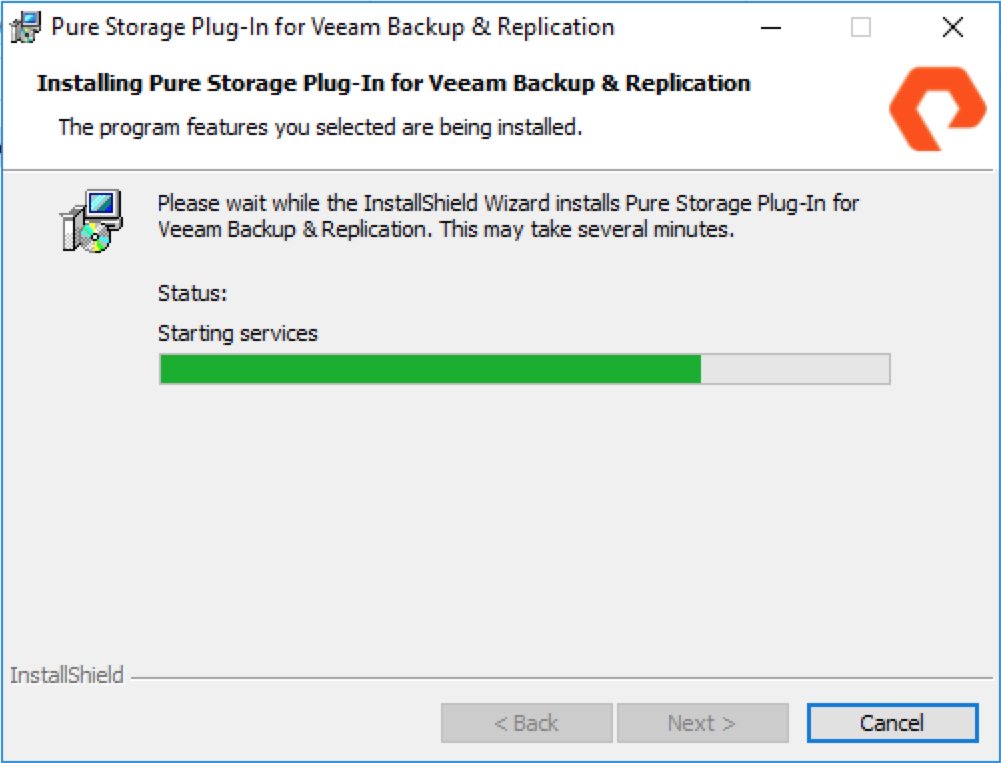
At this point, the installation should be complete, and you are mere moments away from seeing your new storage integration within Veeam.
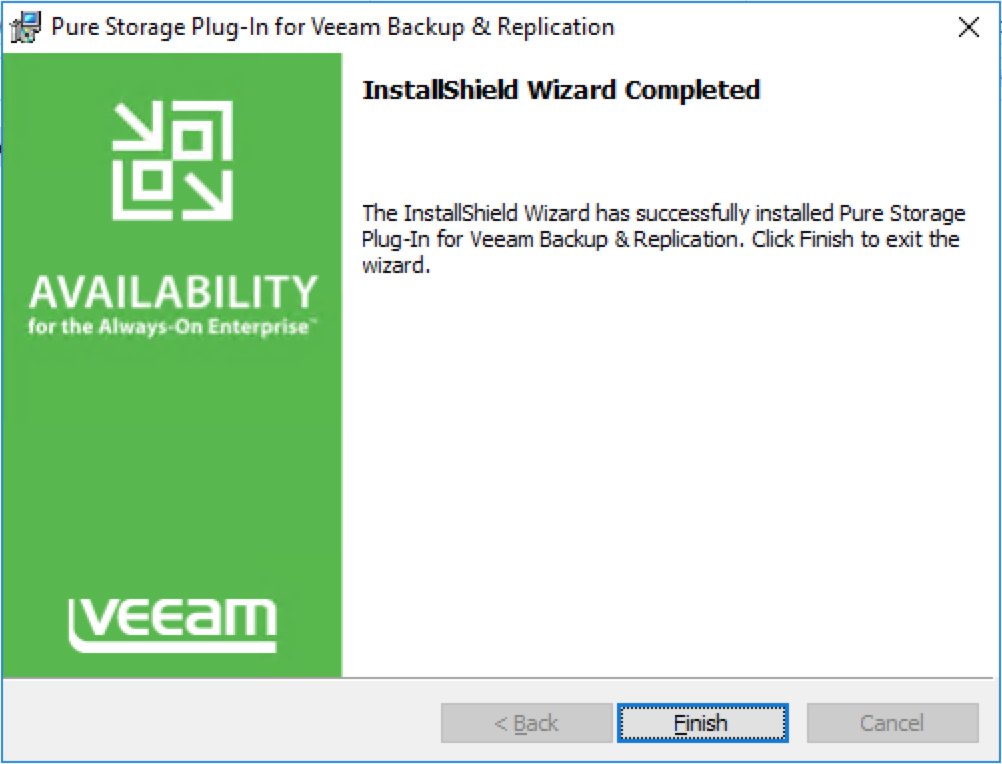
Launch the Veeam B&R UI, then move over to the Storage Infrastructure view and click ‘Add Storage’.
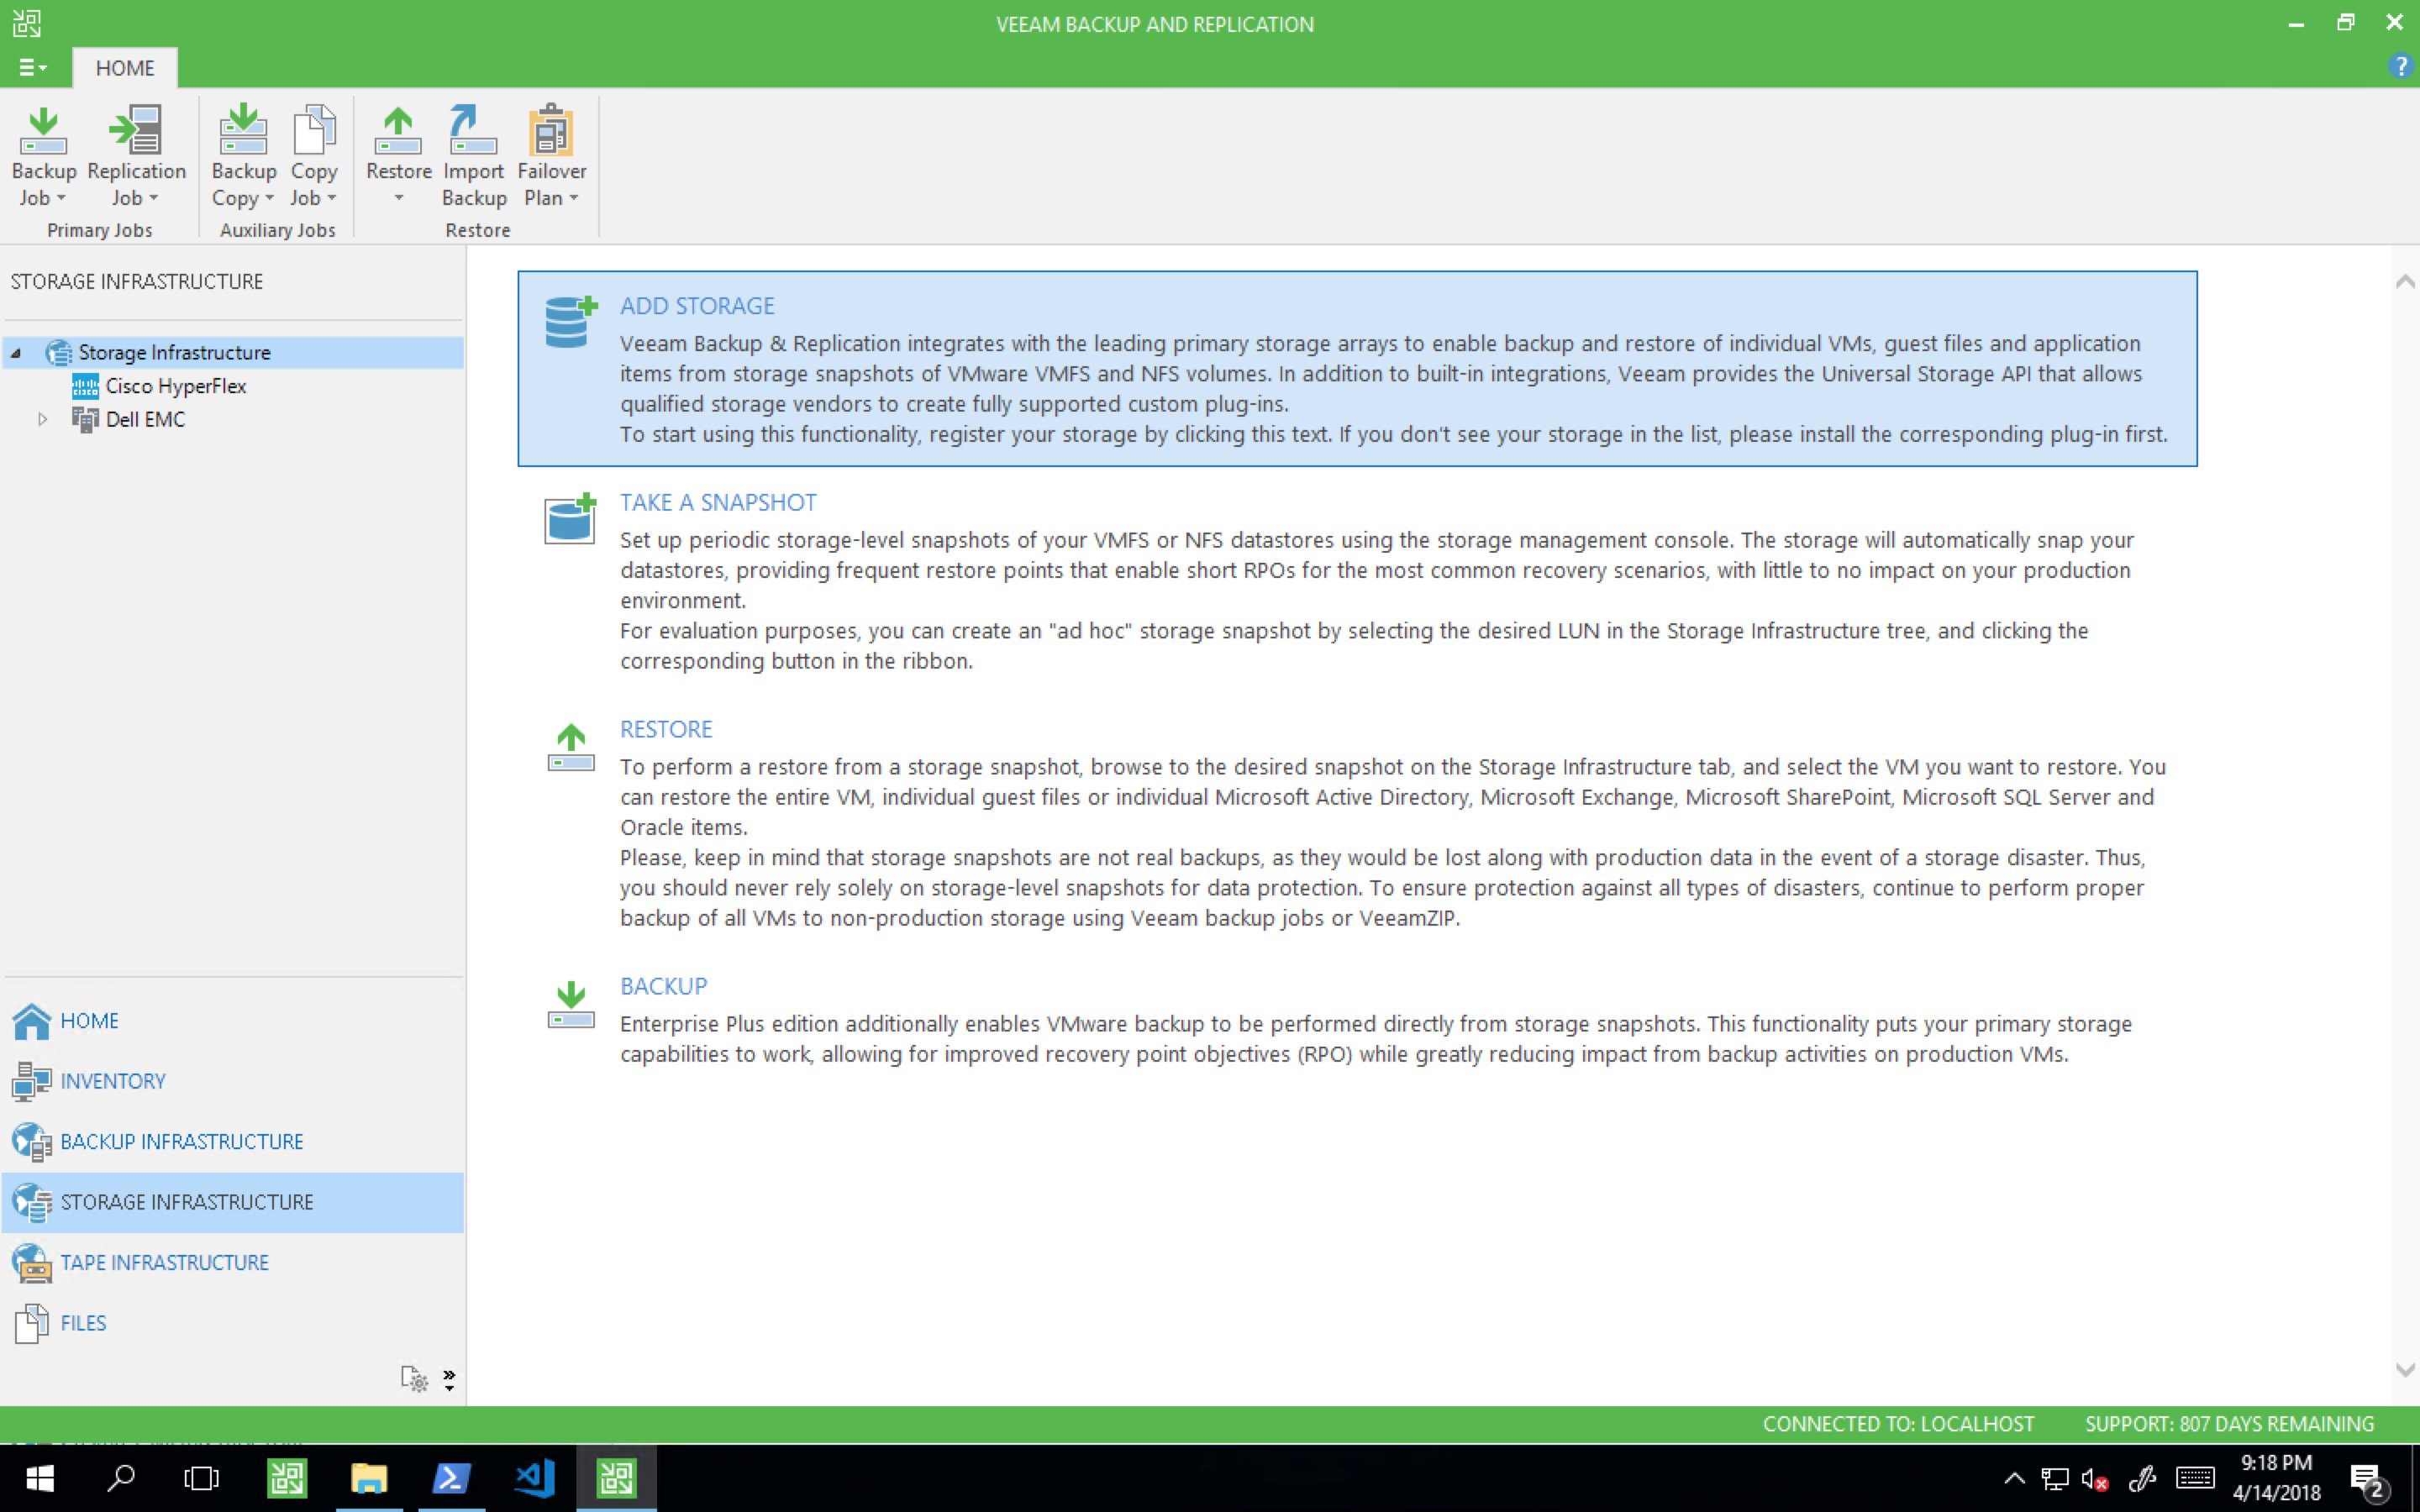
Select Pure Storage in the Add Storage window.
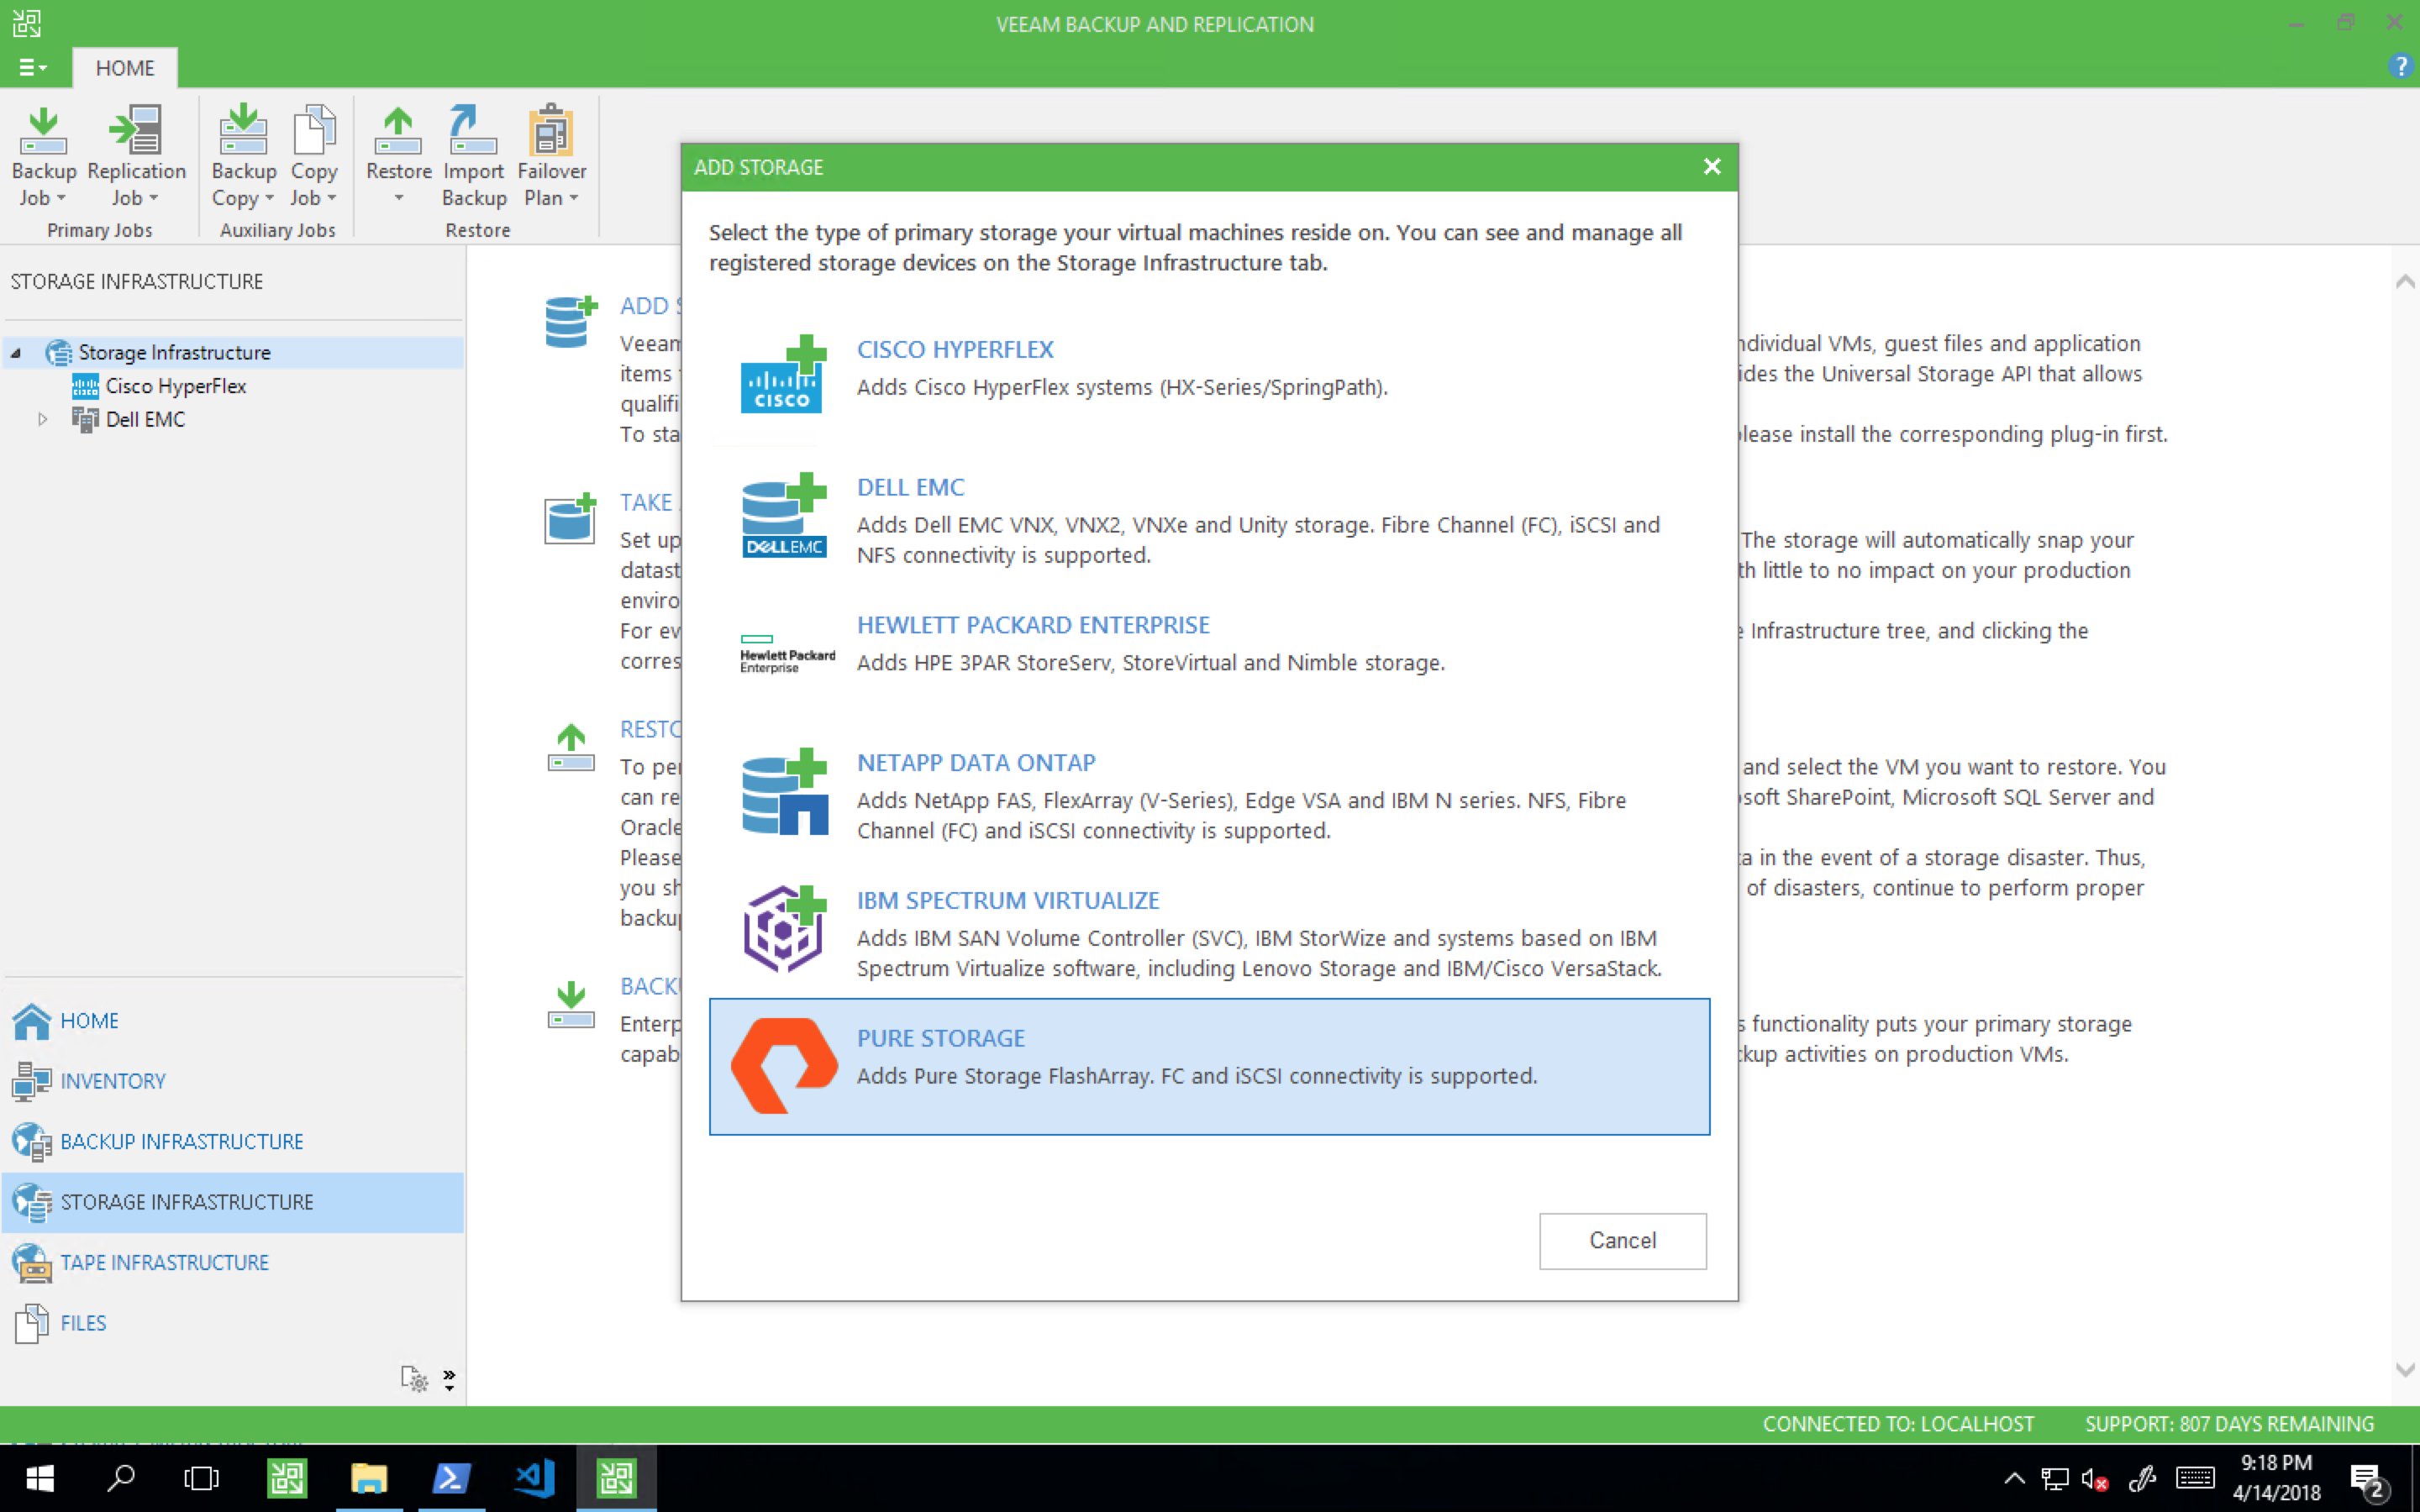
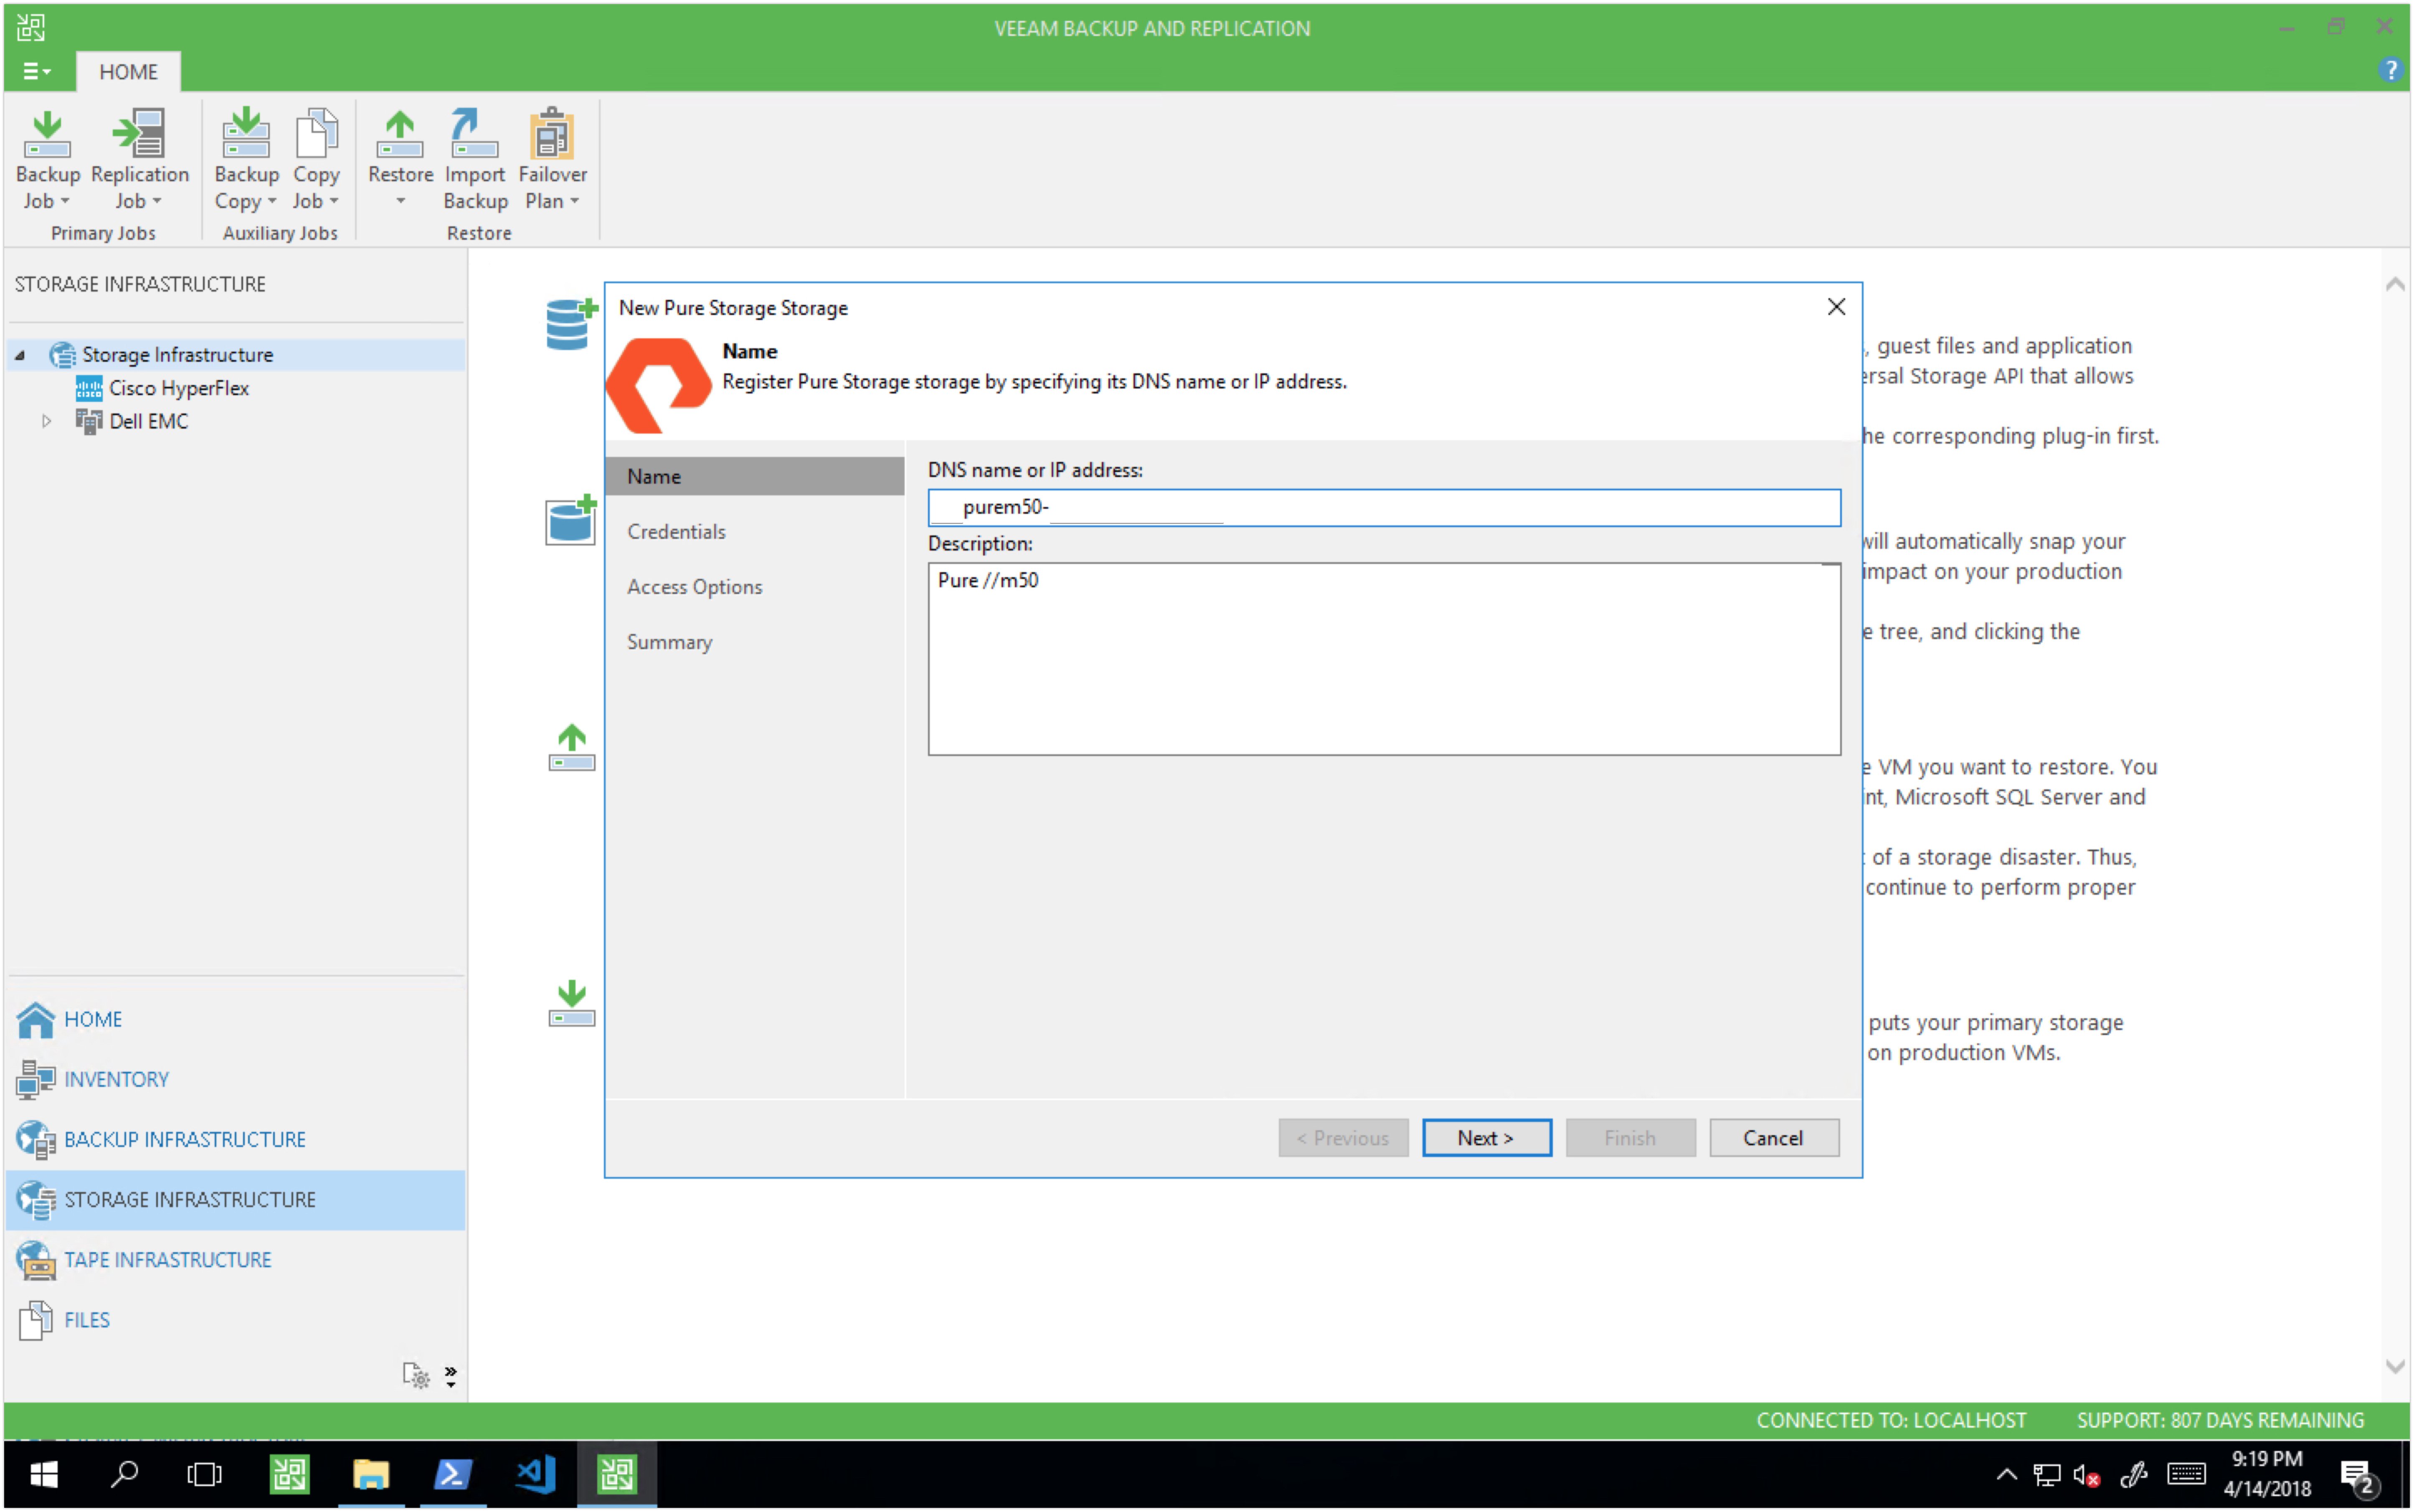
Enter the name/IP address and description of your Pure Storage array, then click next.
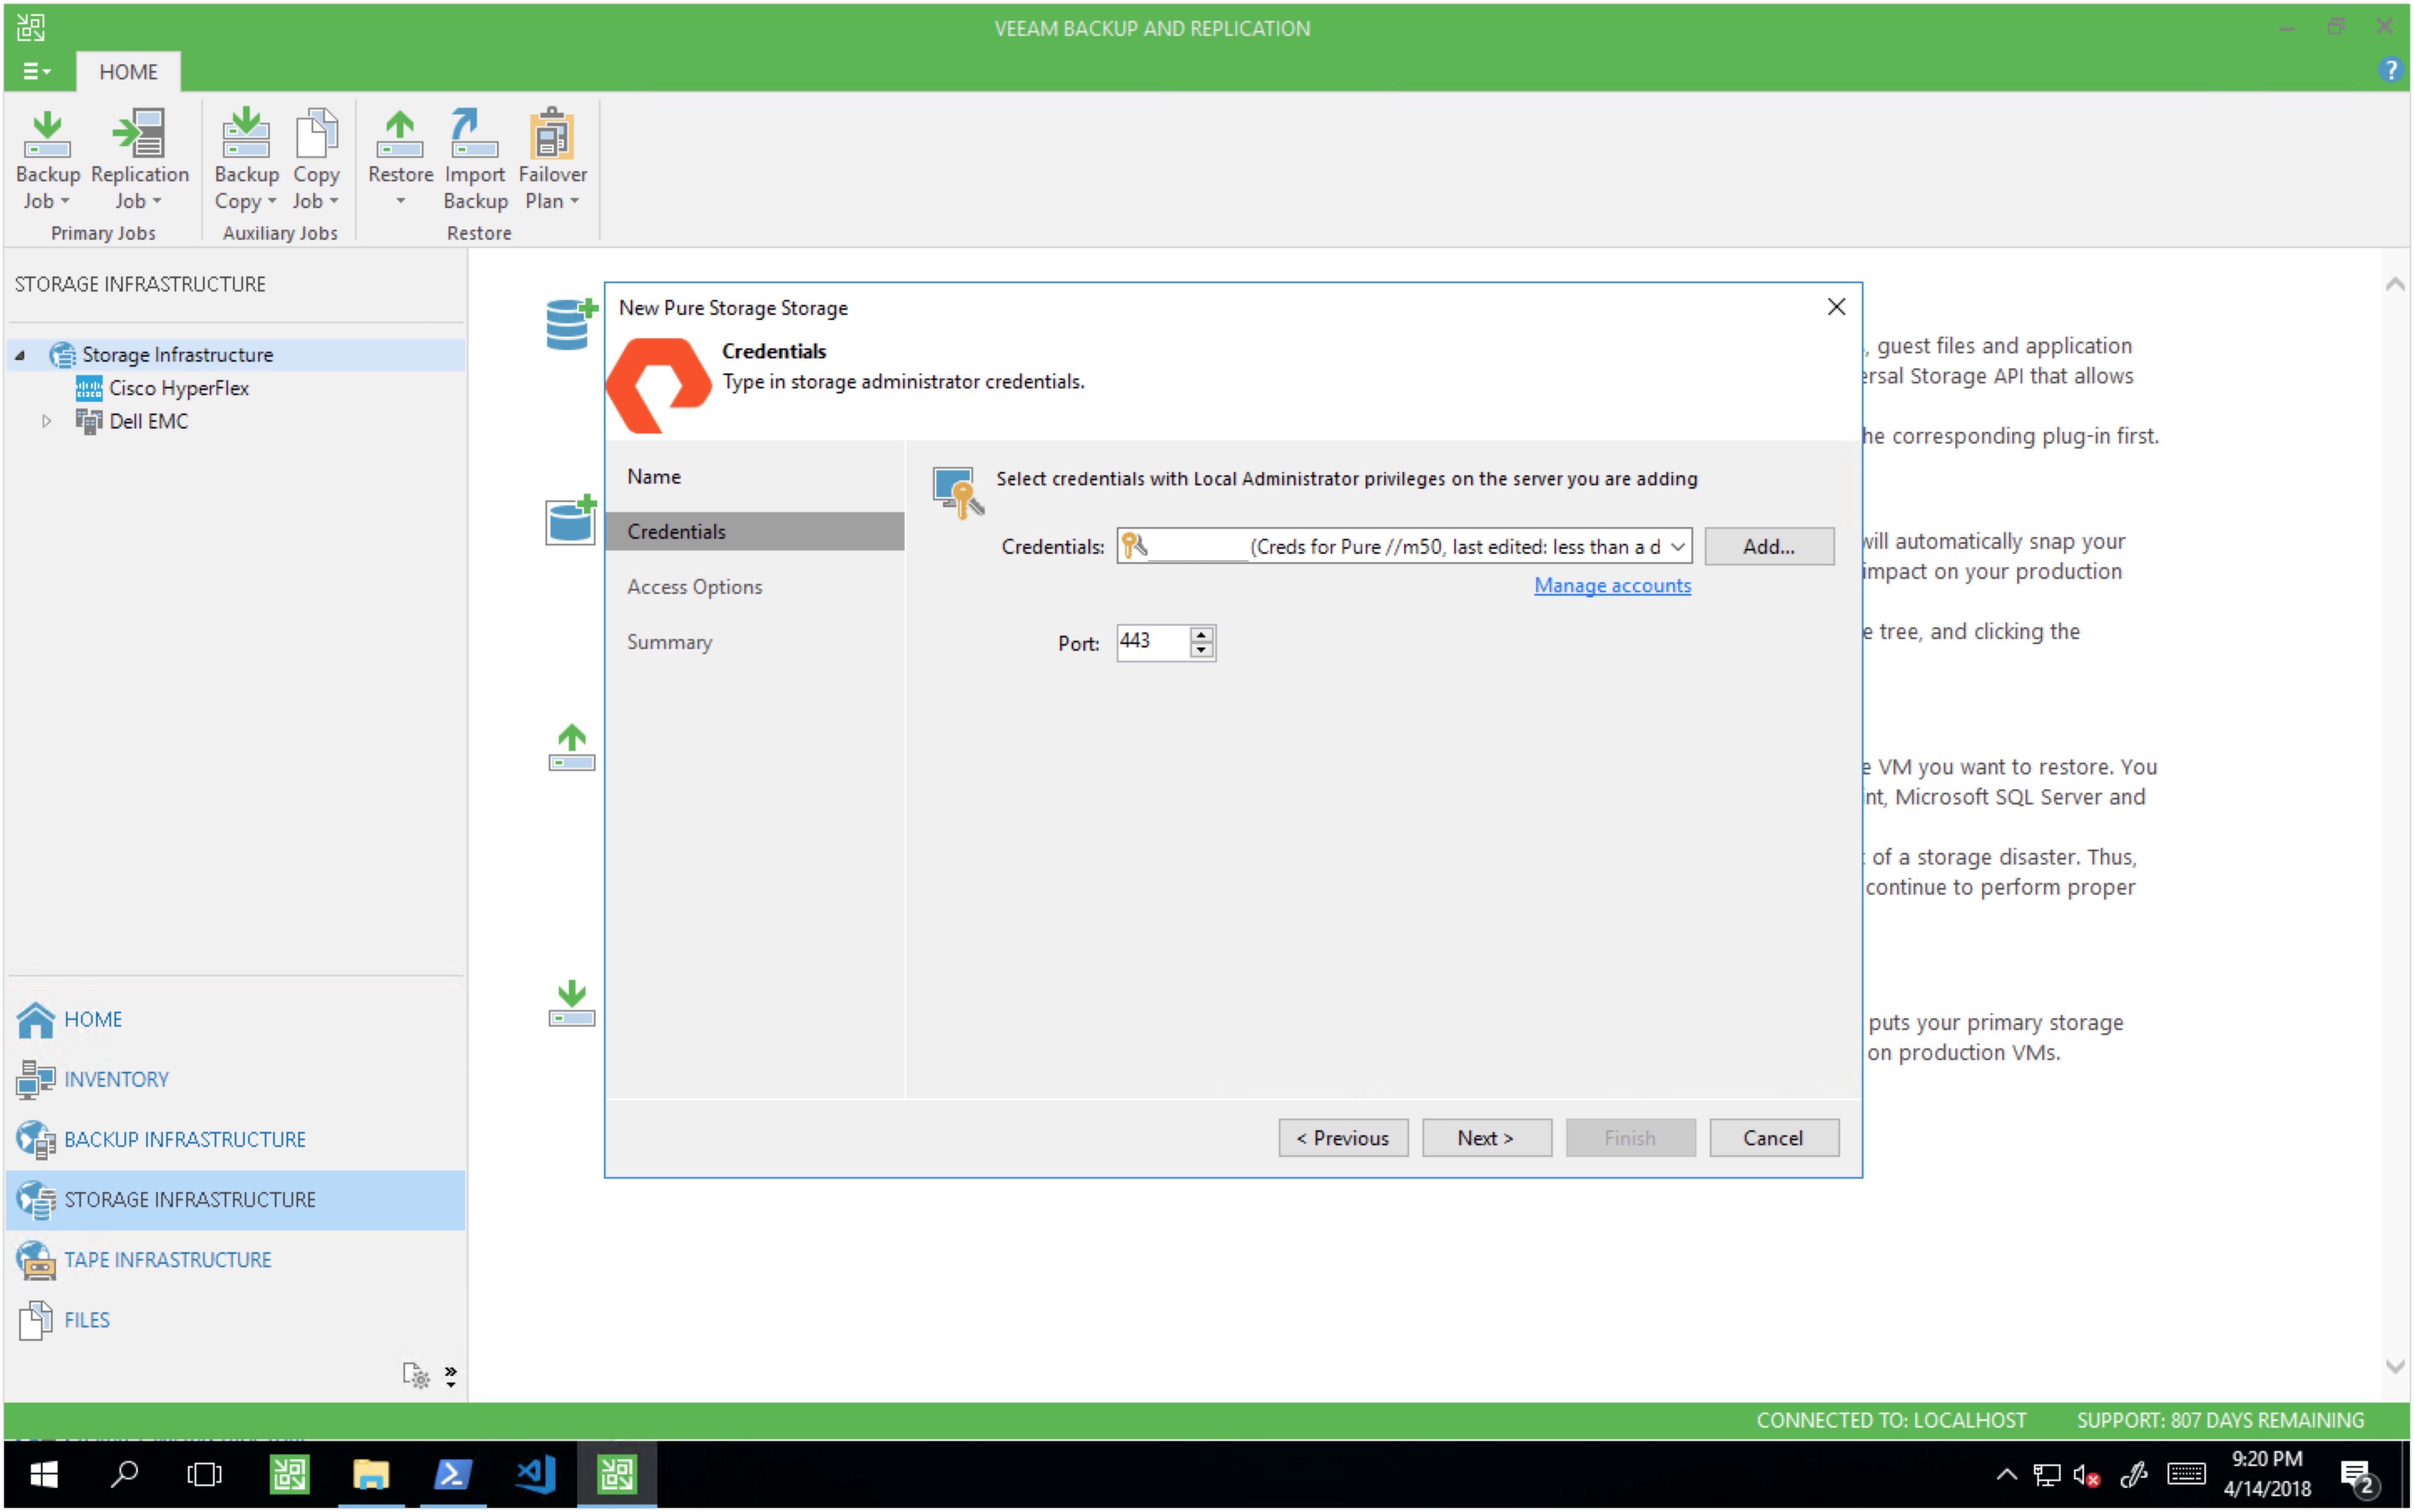
Select the credentials with access to the Pure Storage array - this should be a member of the ‘Storage Admin’ group. If you don’t have a credential created already, then click Add and run through the Veeam credential wizard. Click next.
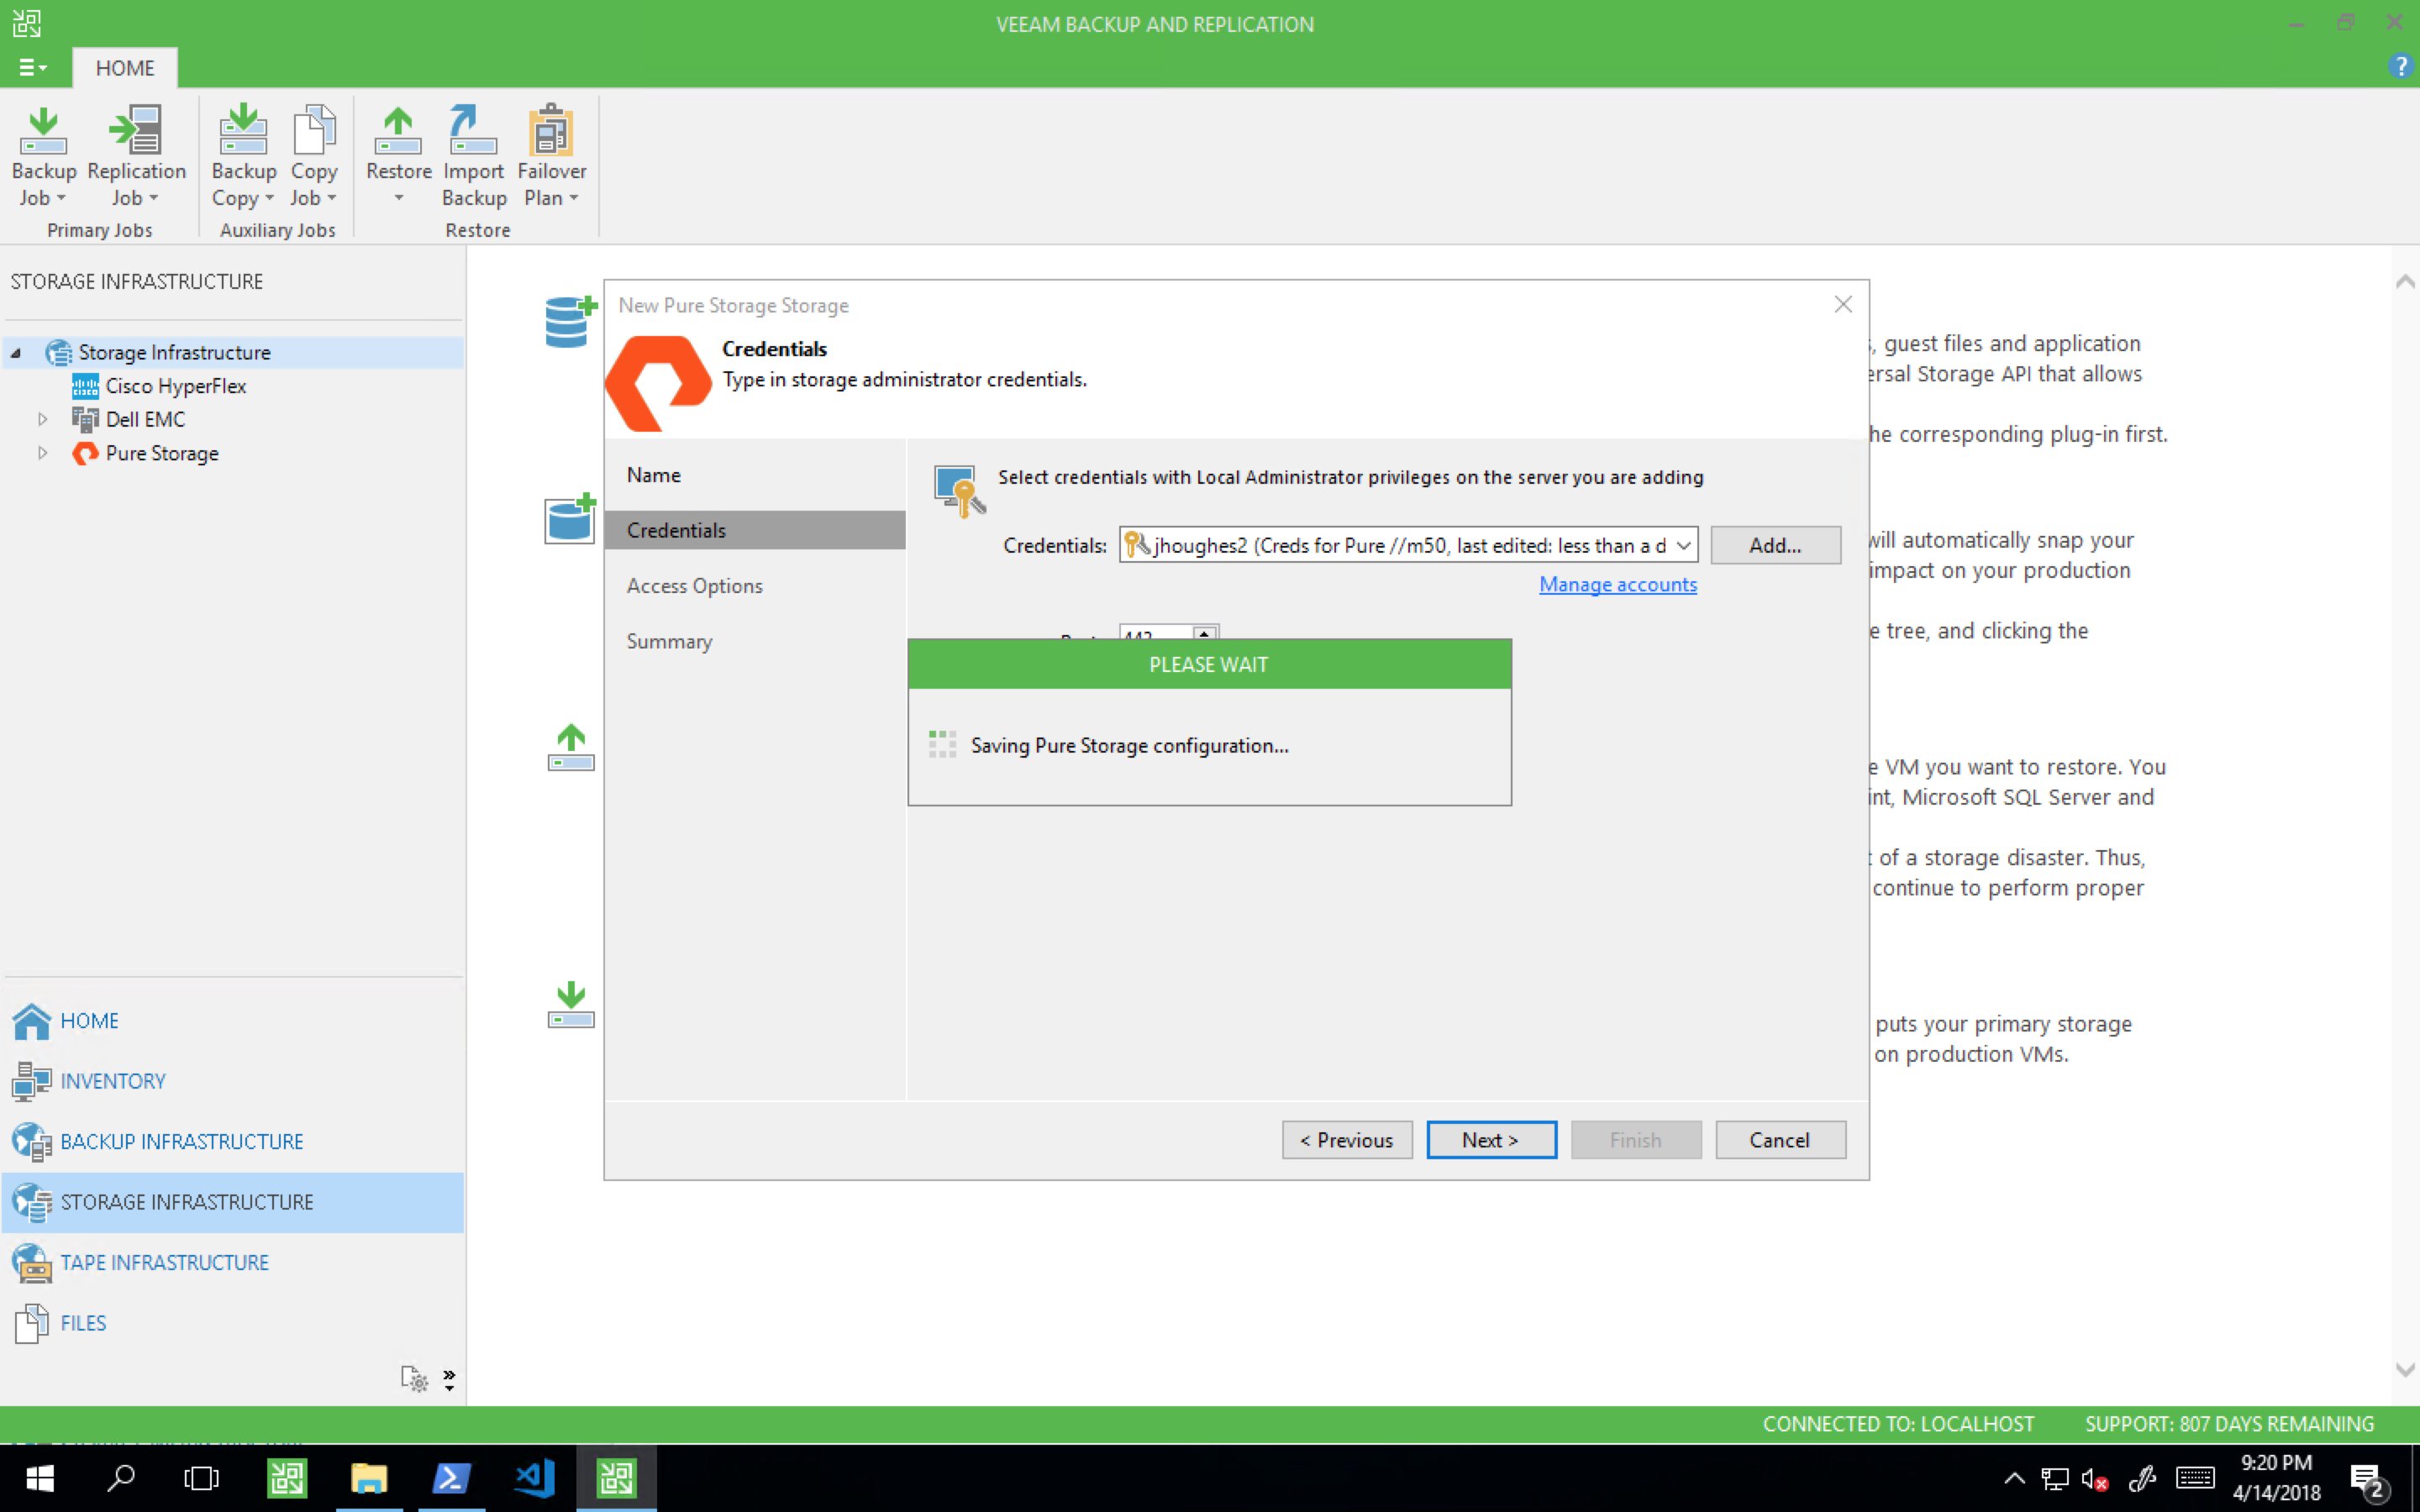
Upon clicking next, Veeam will attempt a connection to the Pure Storage array, and if successful, it will save the configuration.
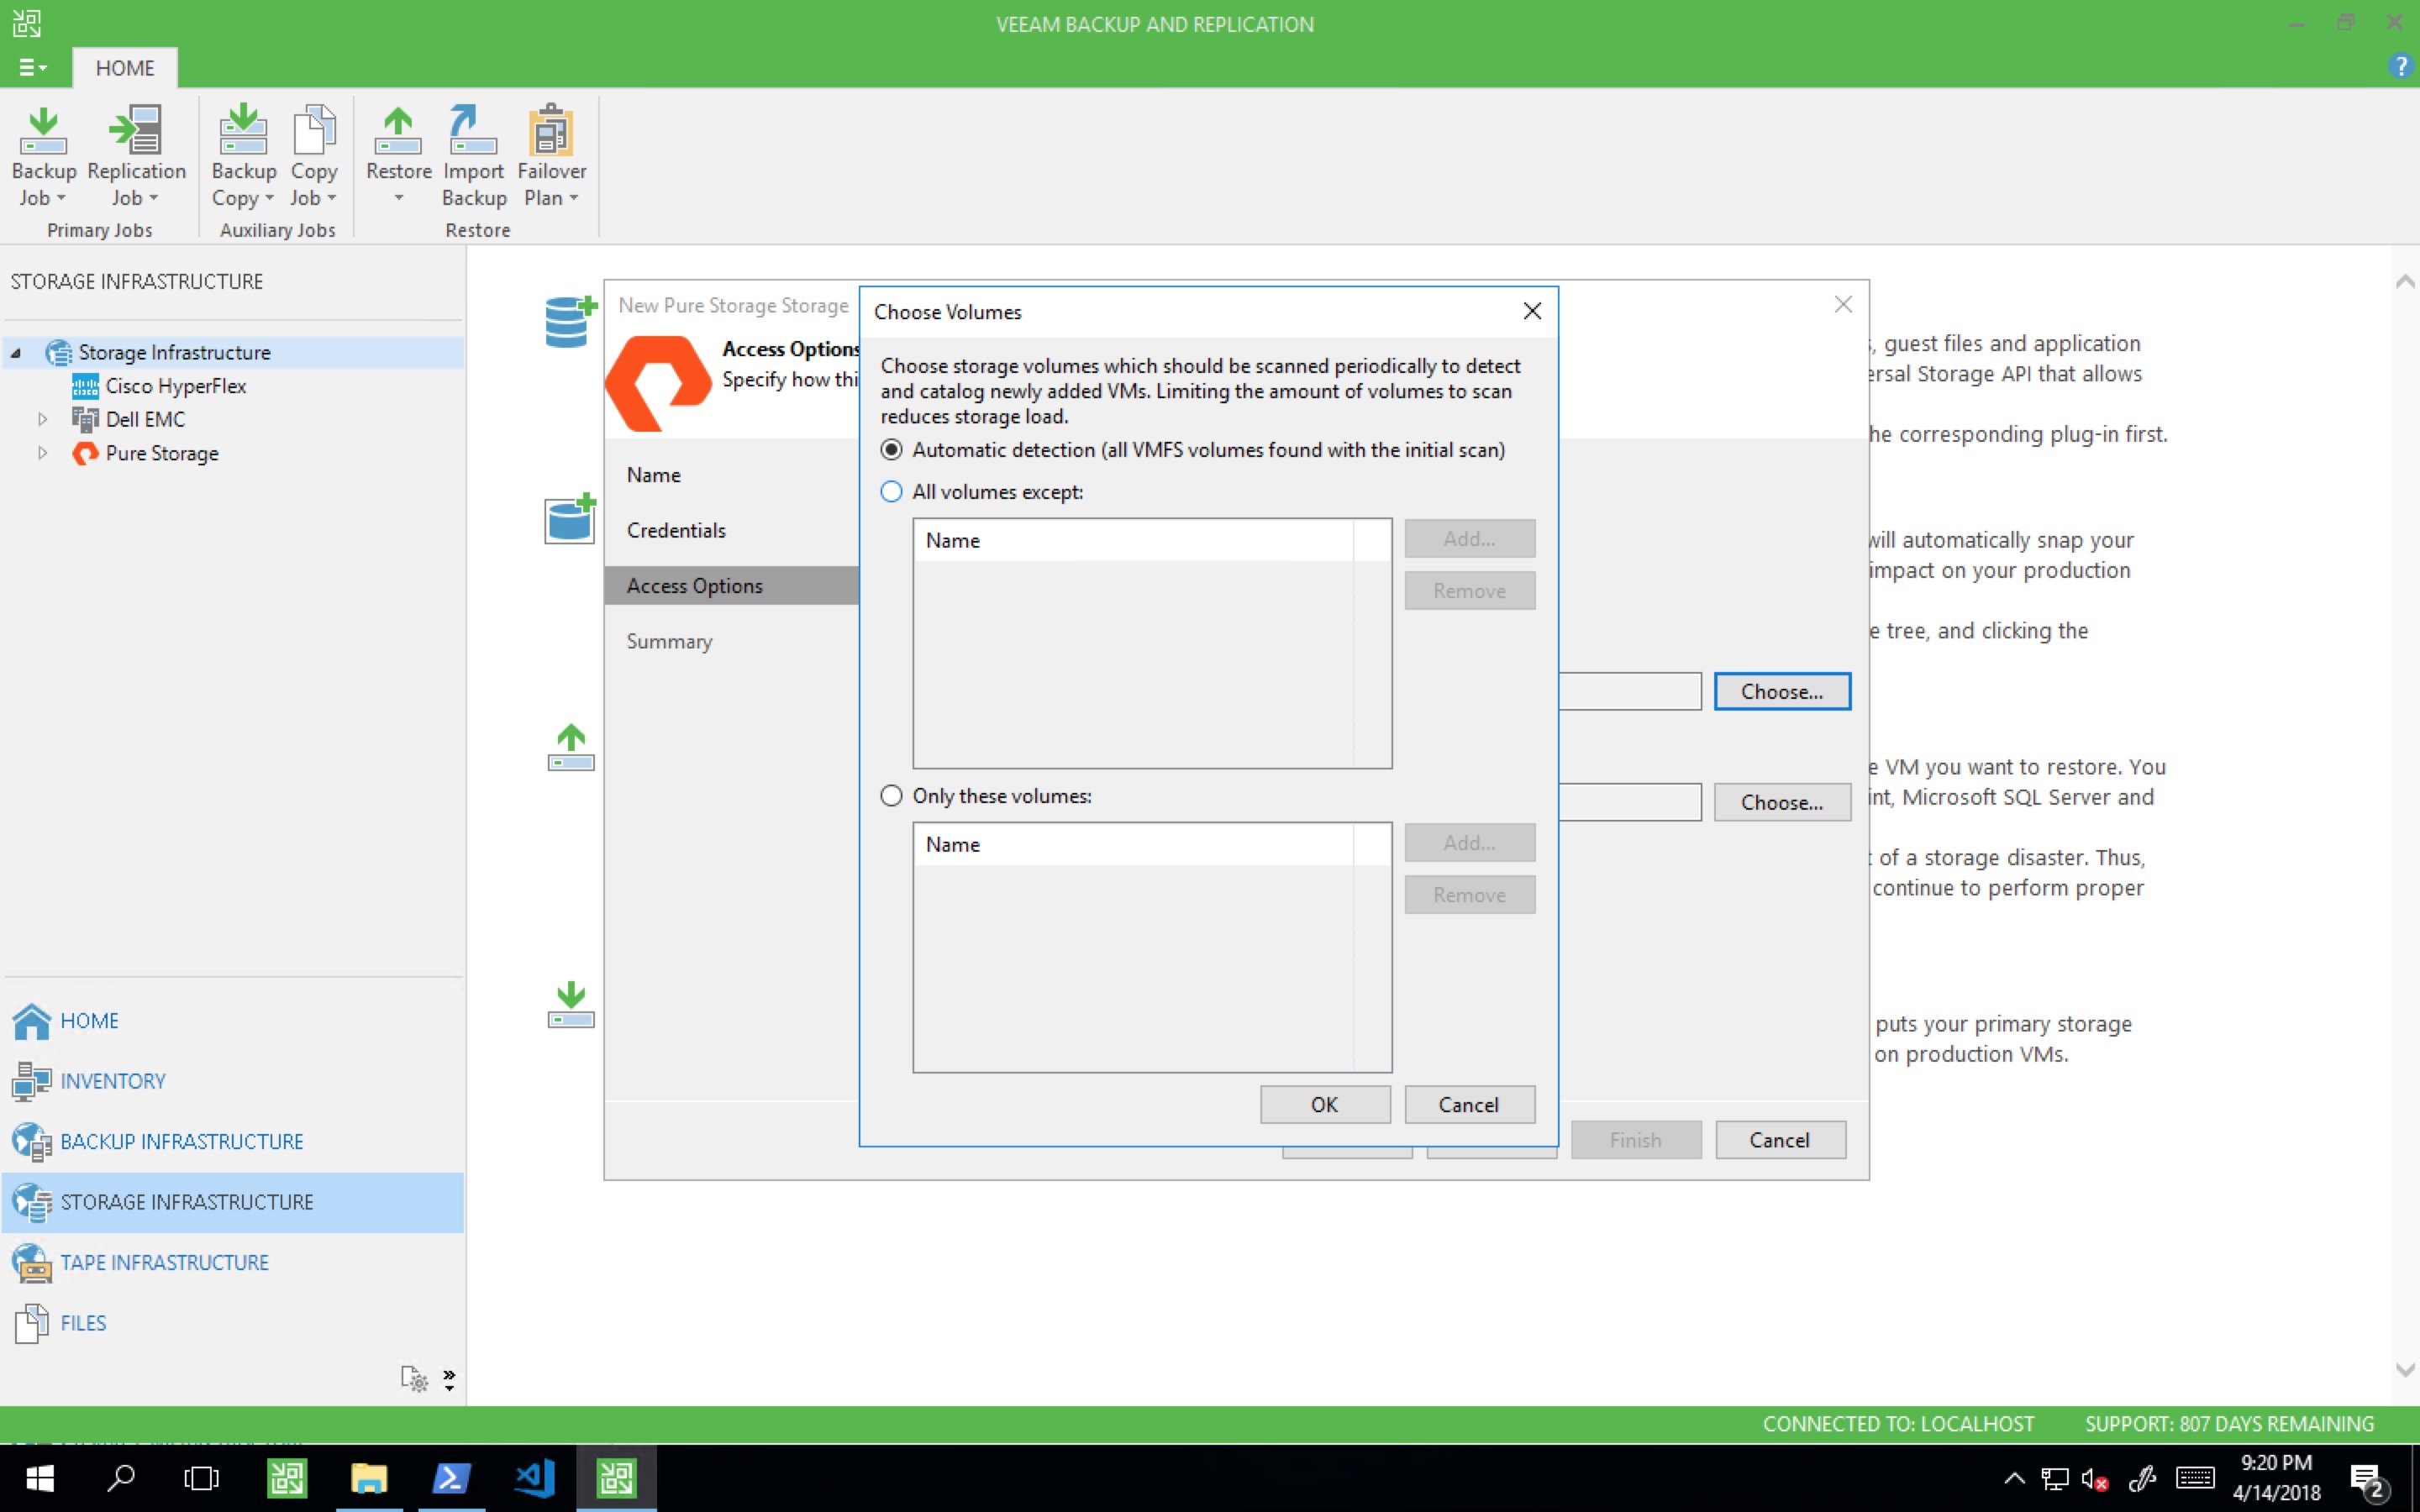
On the access options page, select which protocols you are using for the datastores hosted on your Pure array.

You can choose to select all VMFS volumes found with the initial scan, or you can select which volumes to include/exclude:
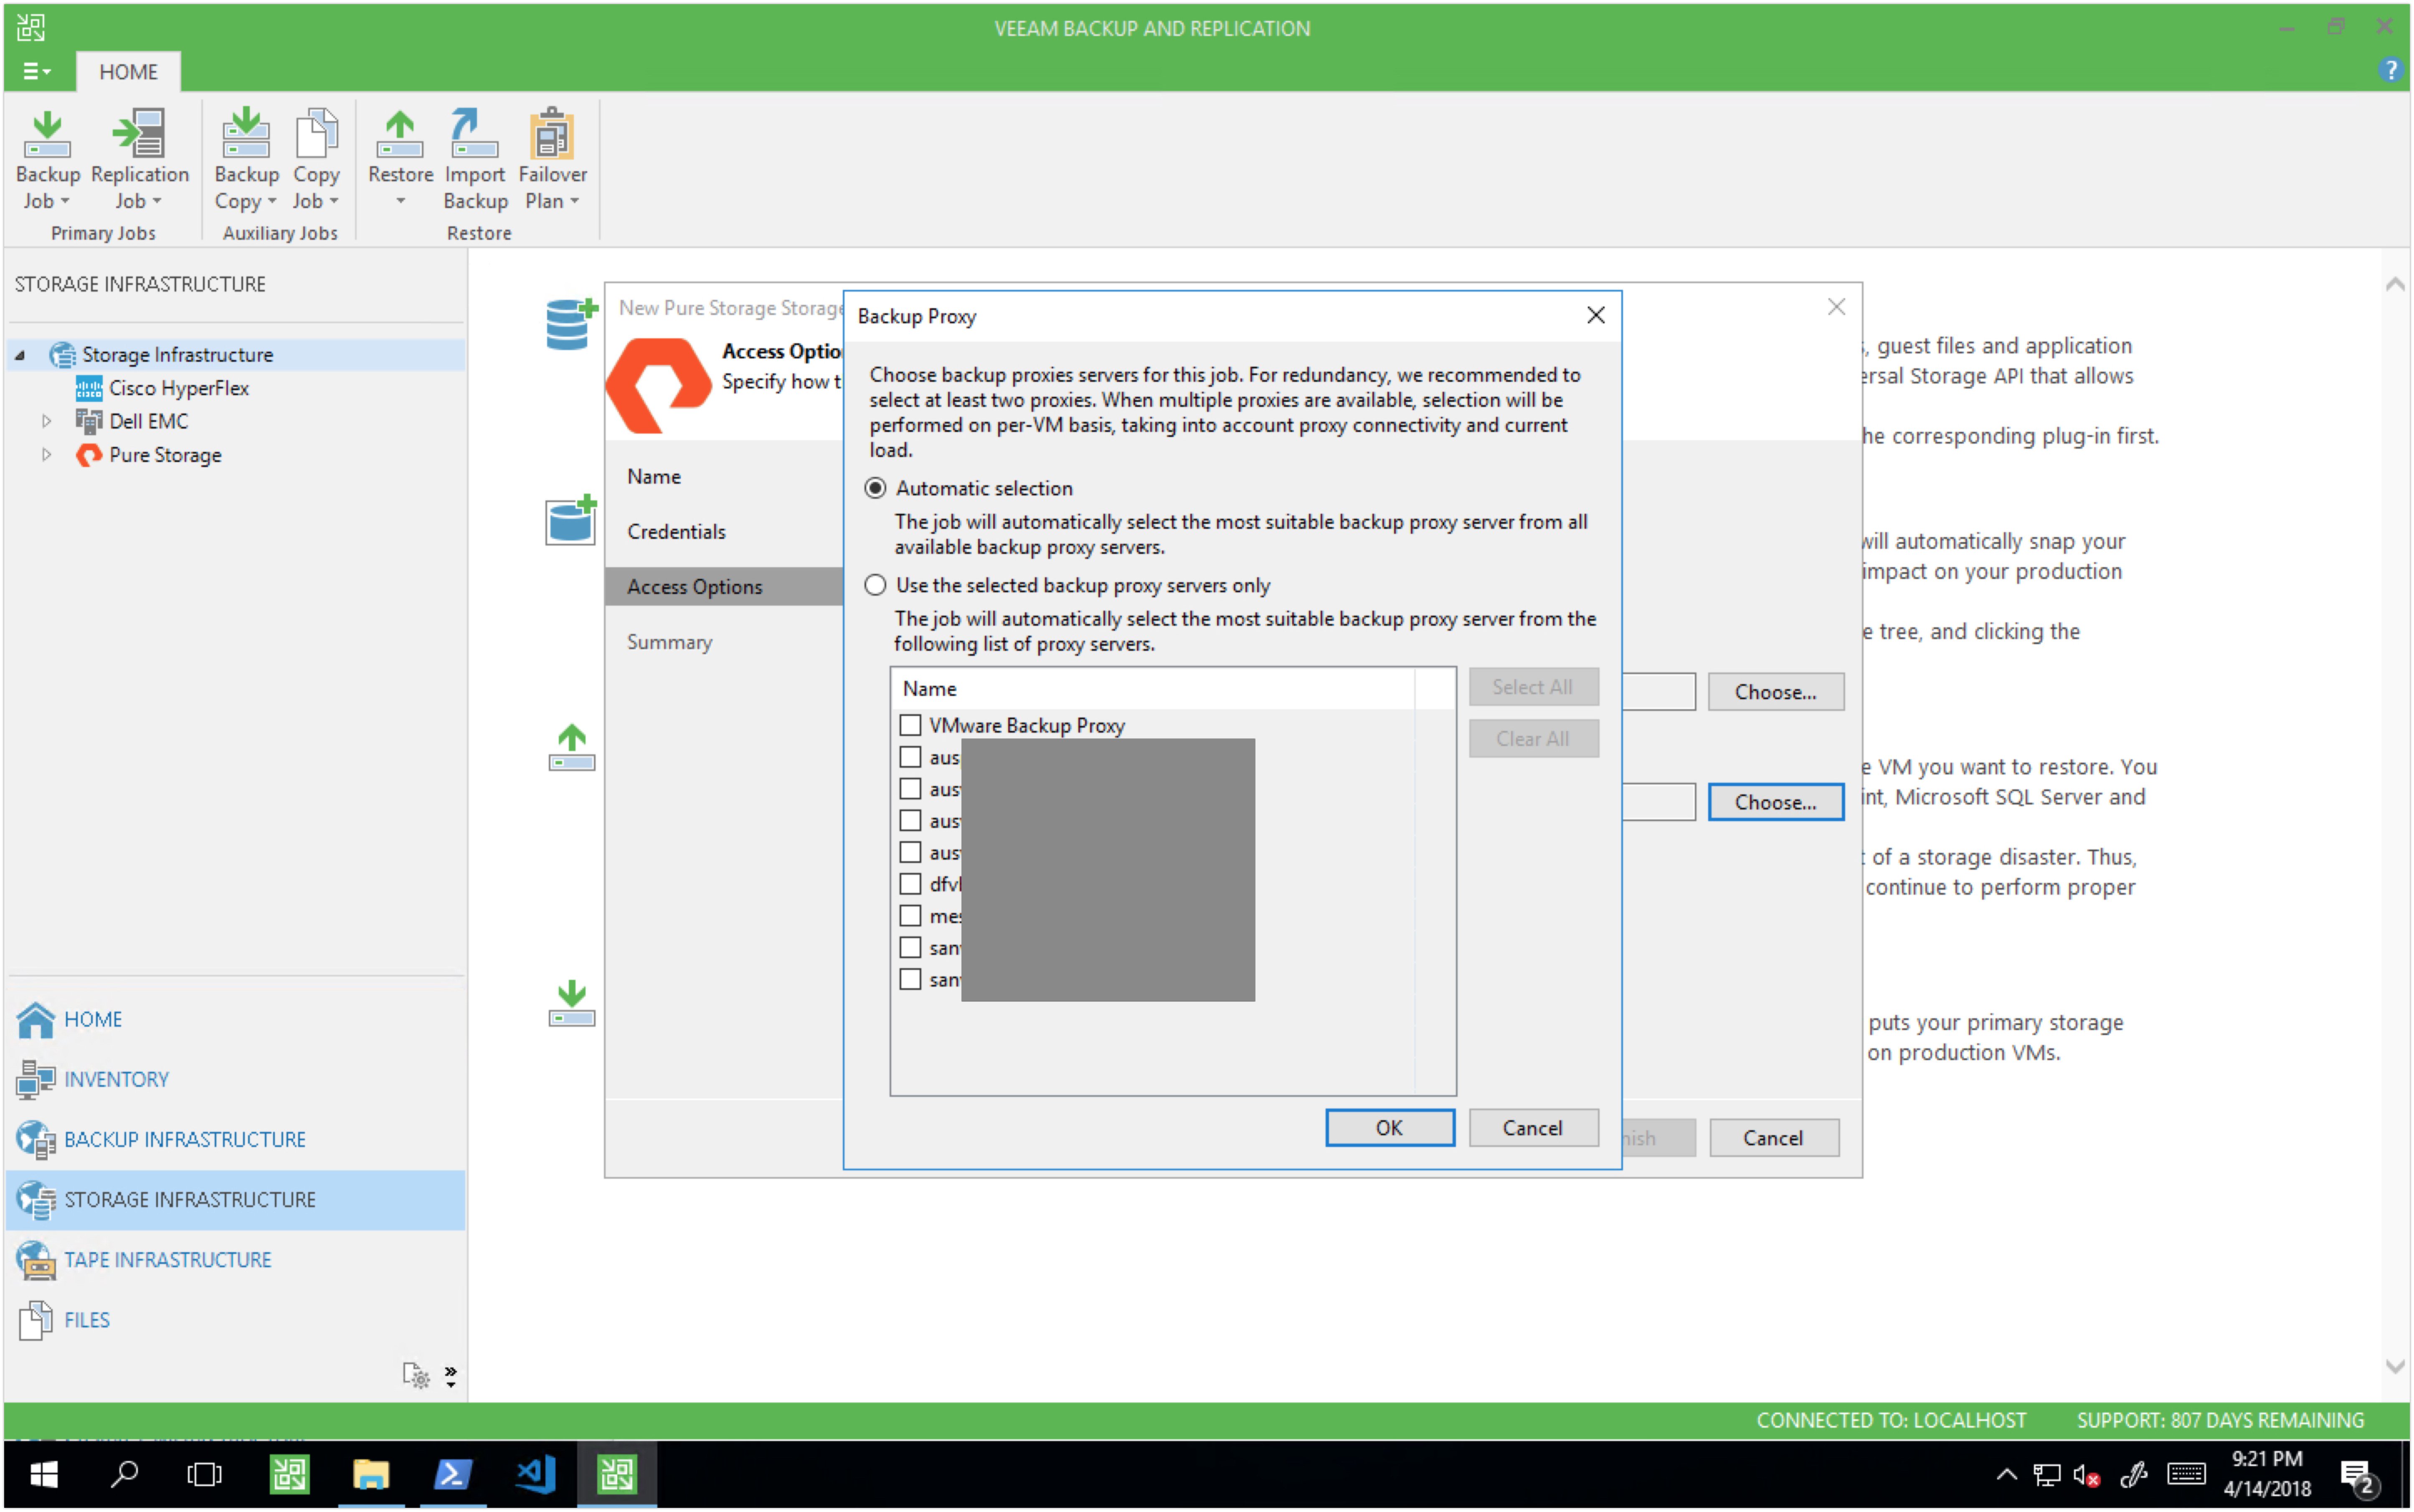
You can also choose the backup proxy used for the backup job.
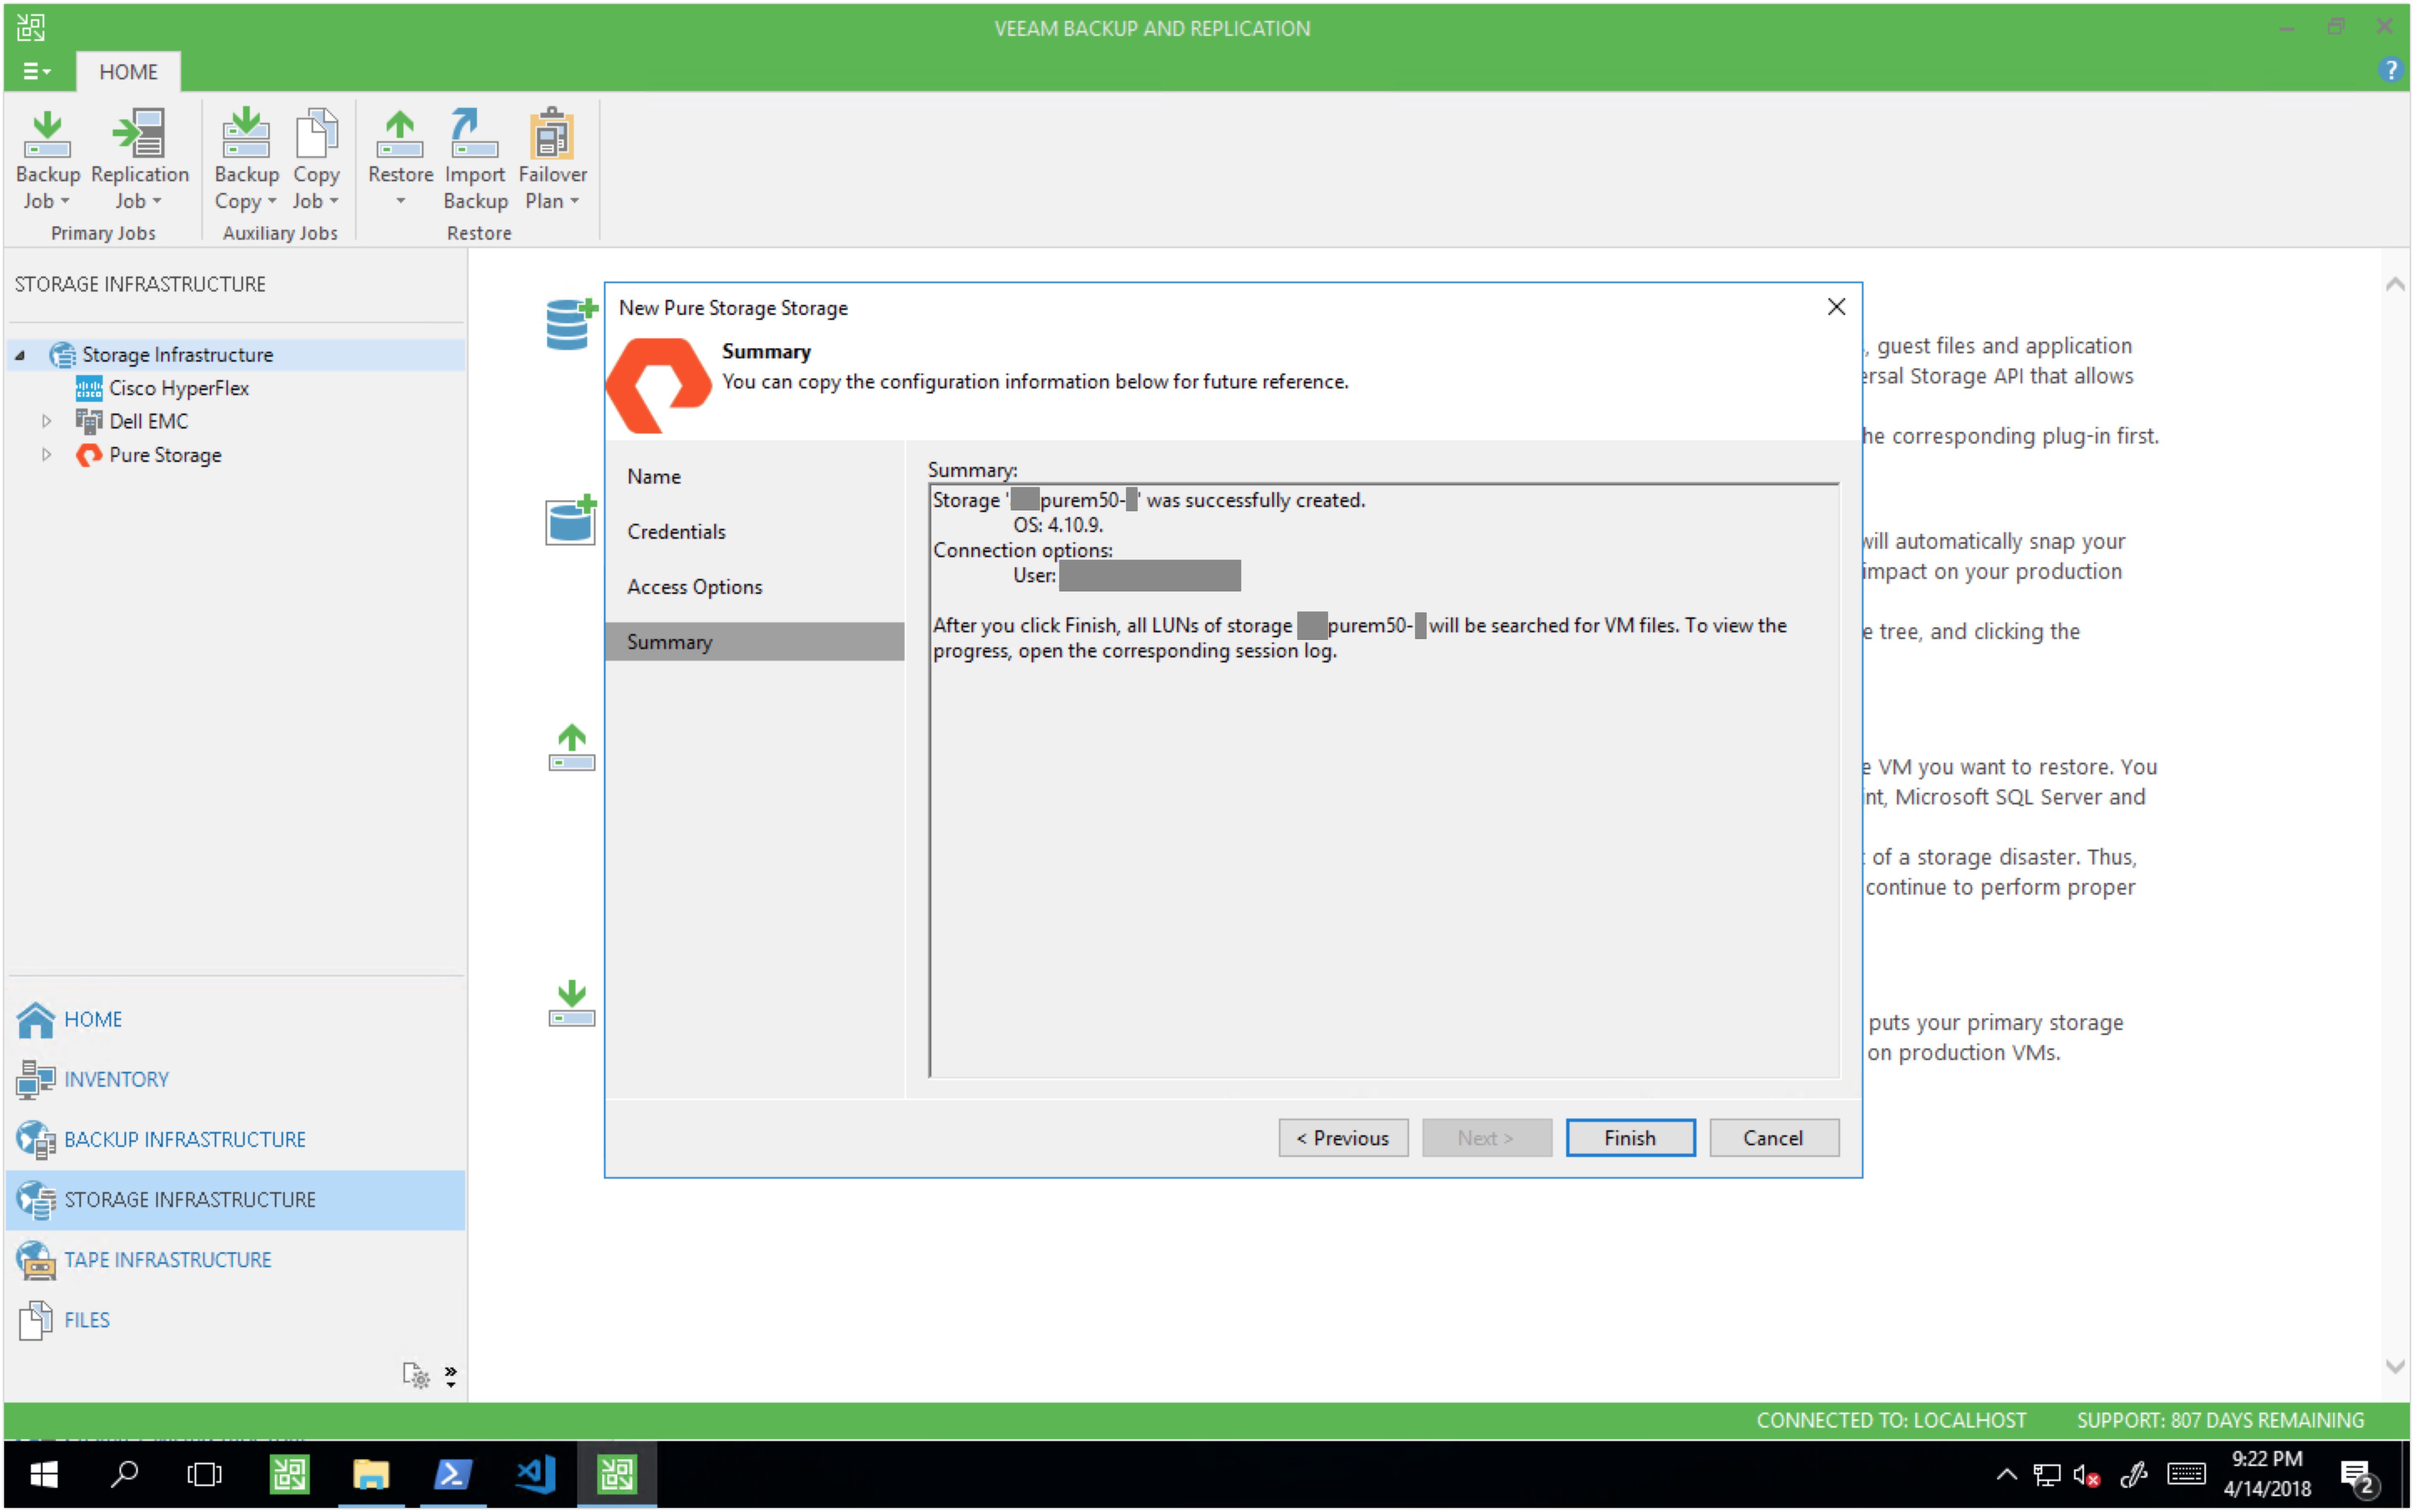
Veeam will now show that the configuration of your Pure Storage array is now complete.
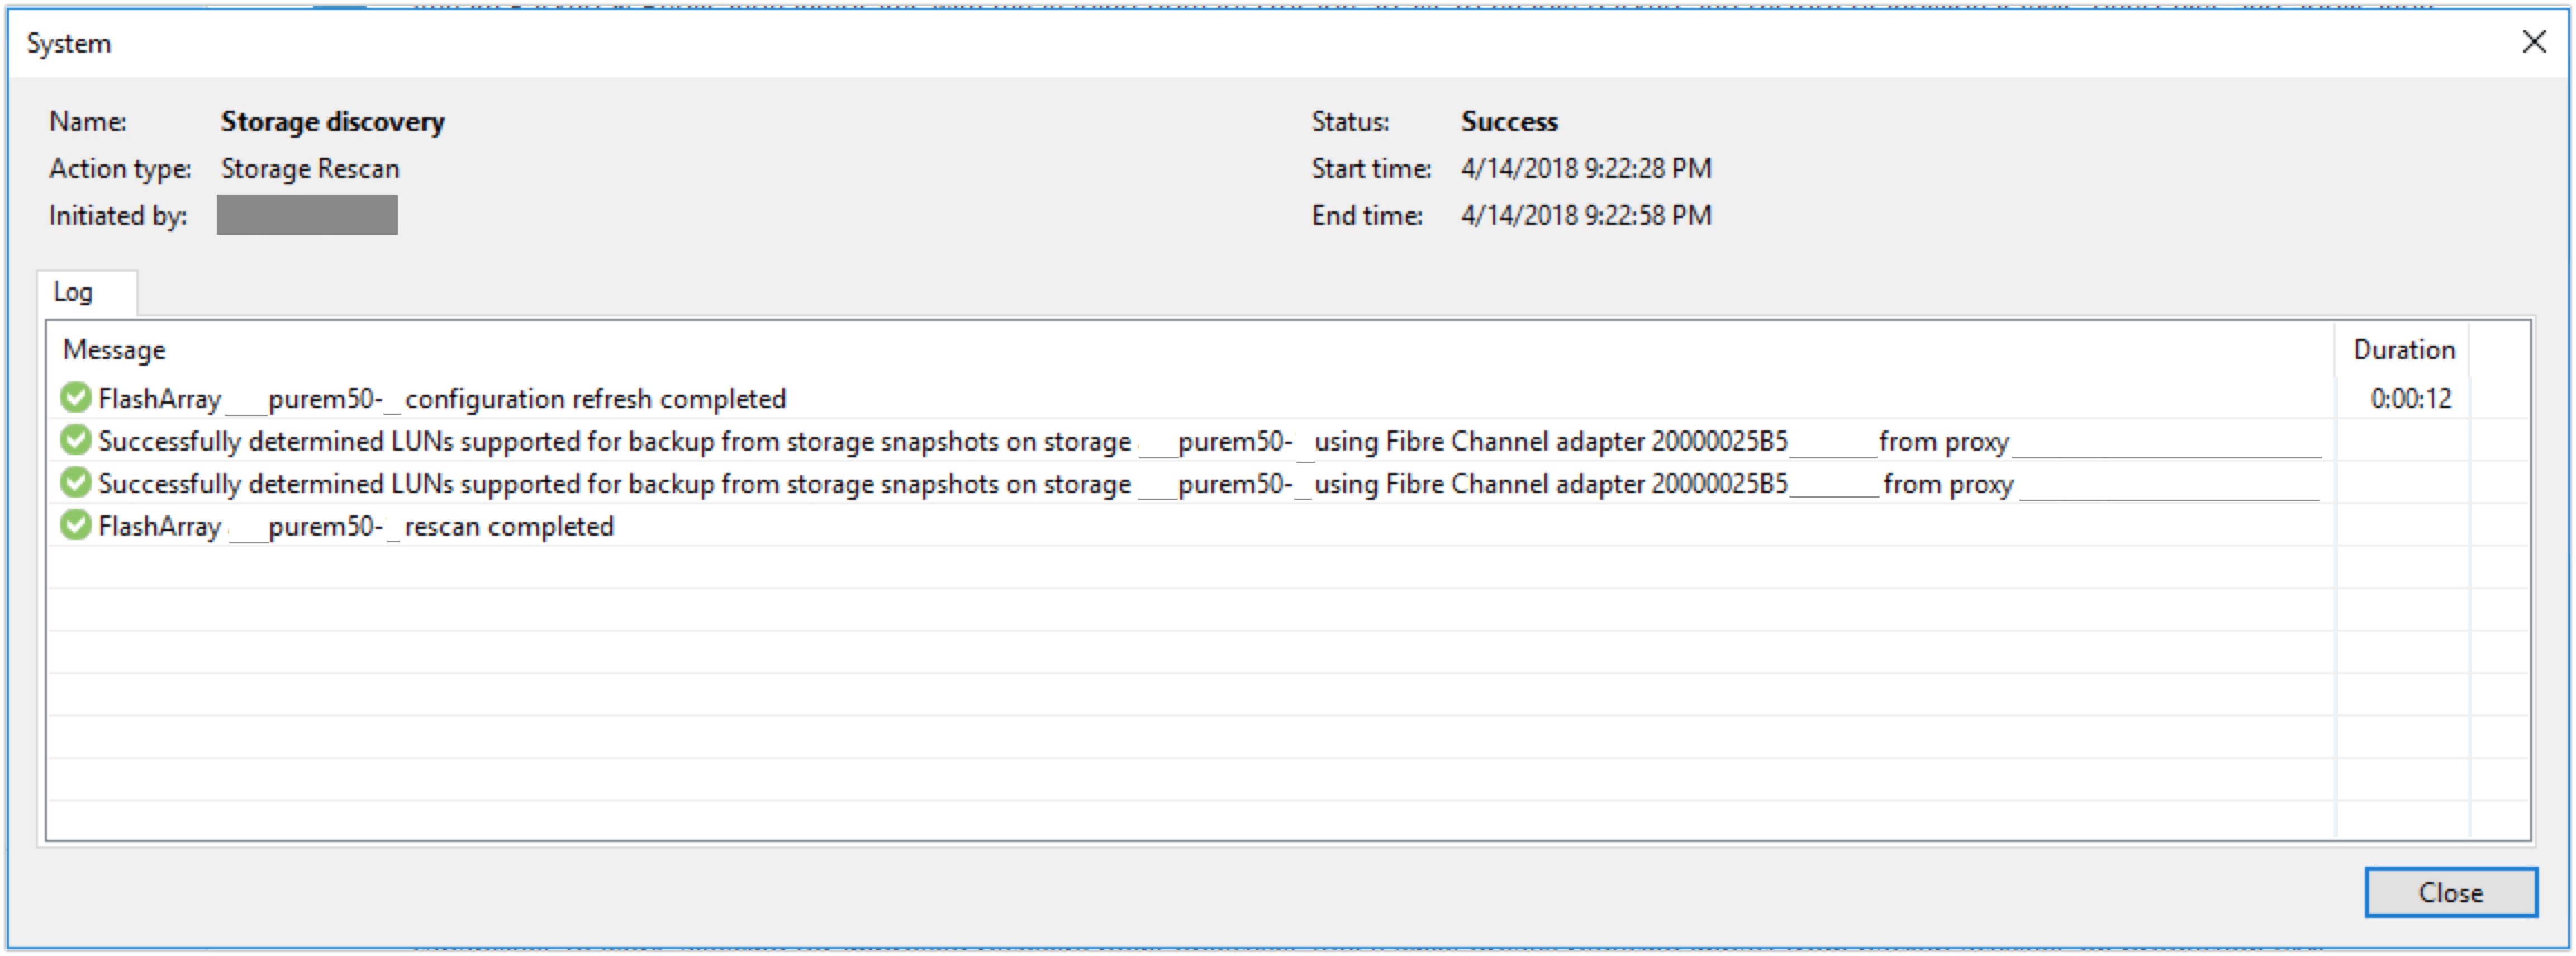
Once the setup of your Pure Storage array is complete, Veeam will begin the initial scan of your array for volumes supported for backup based on your proxy selection.
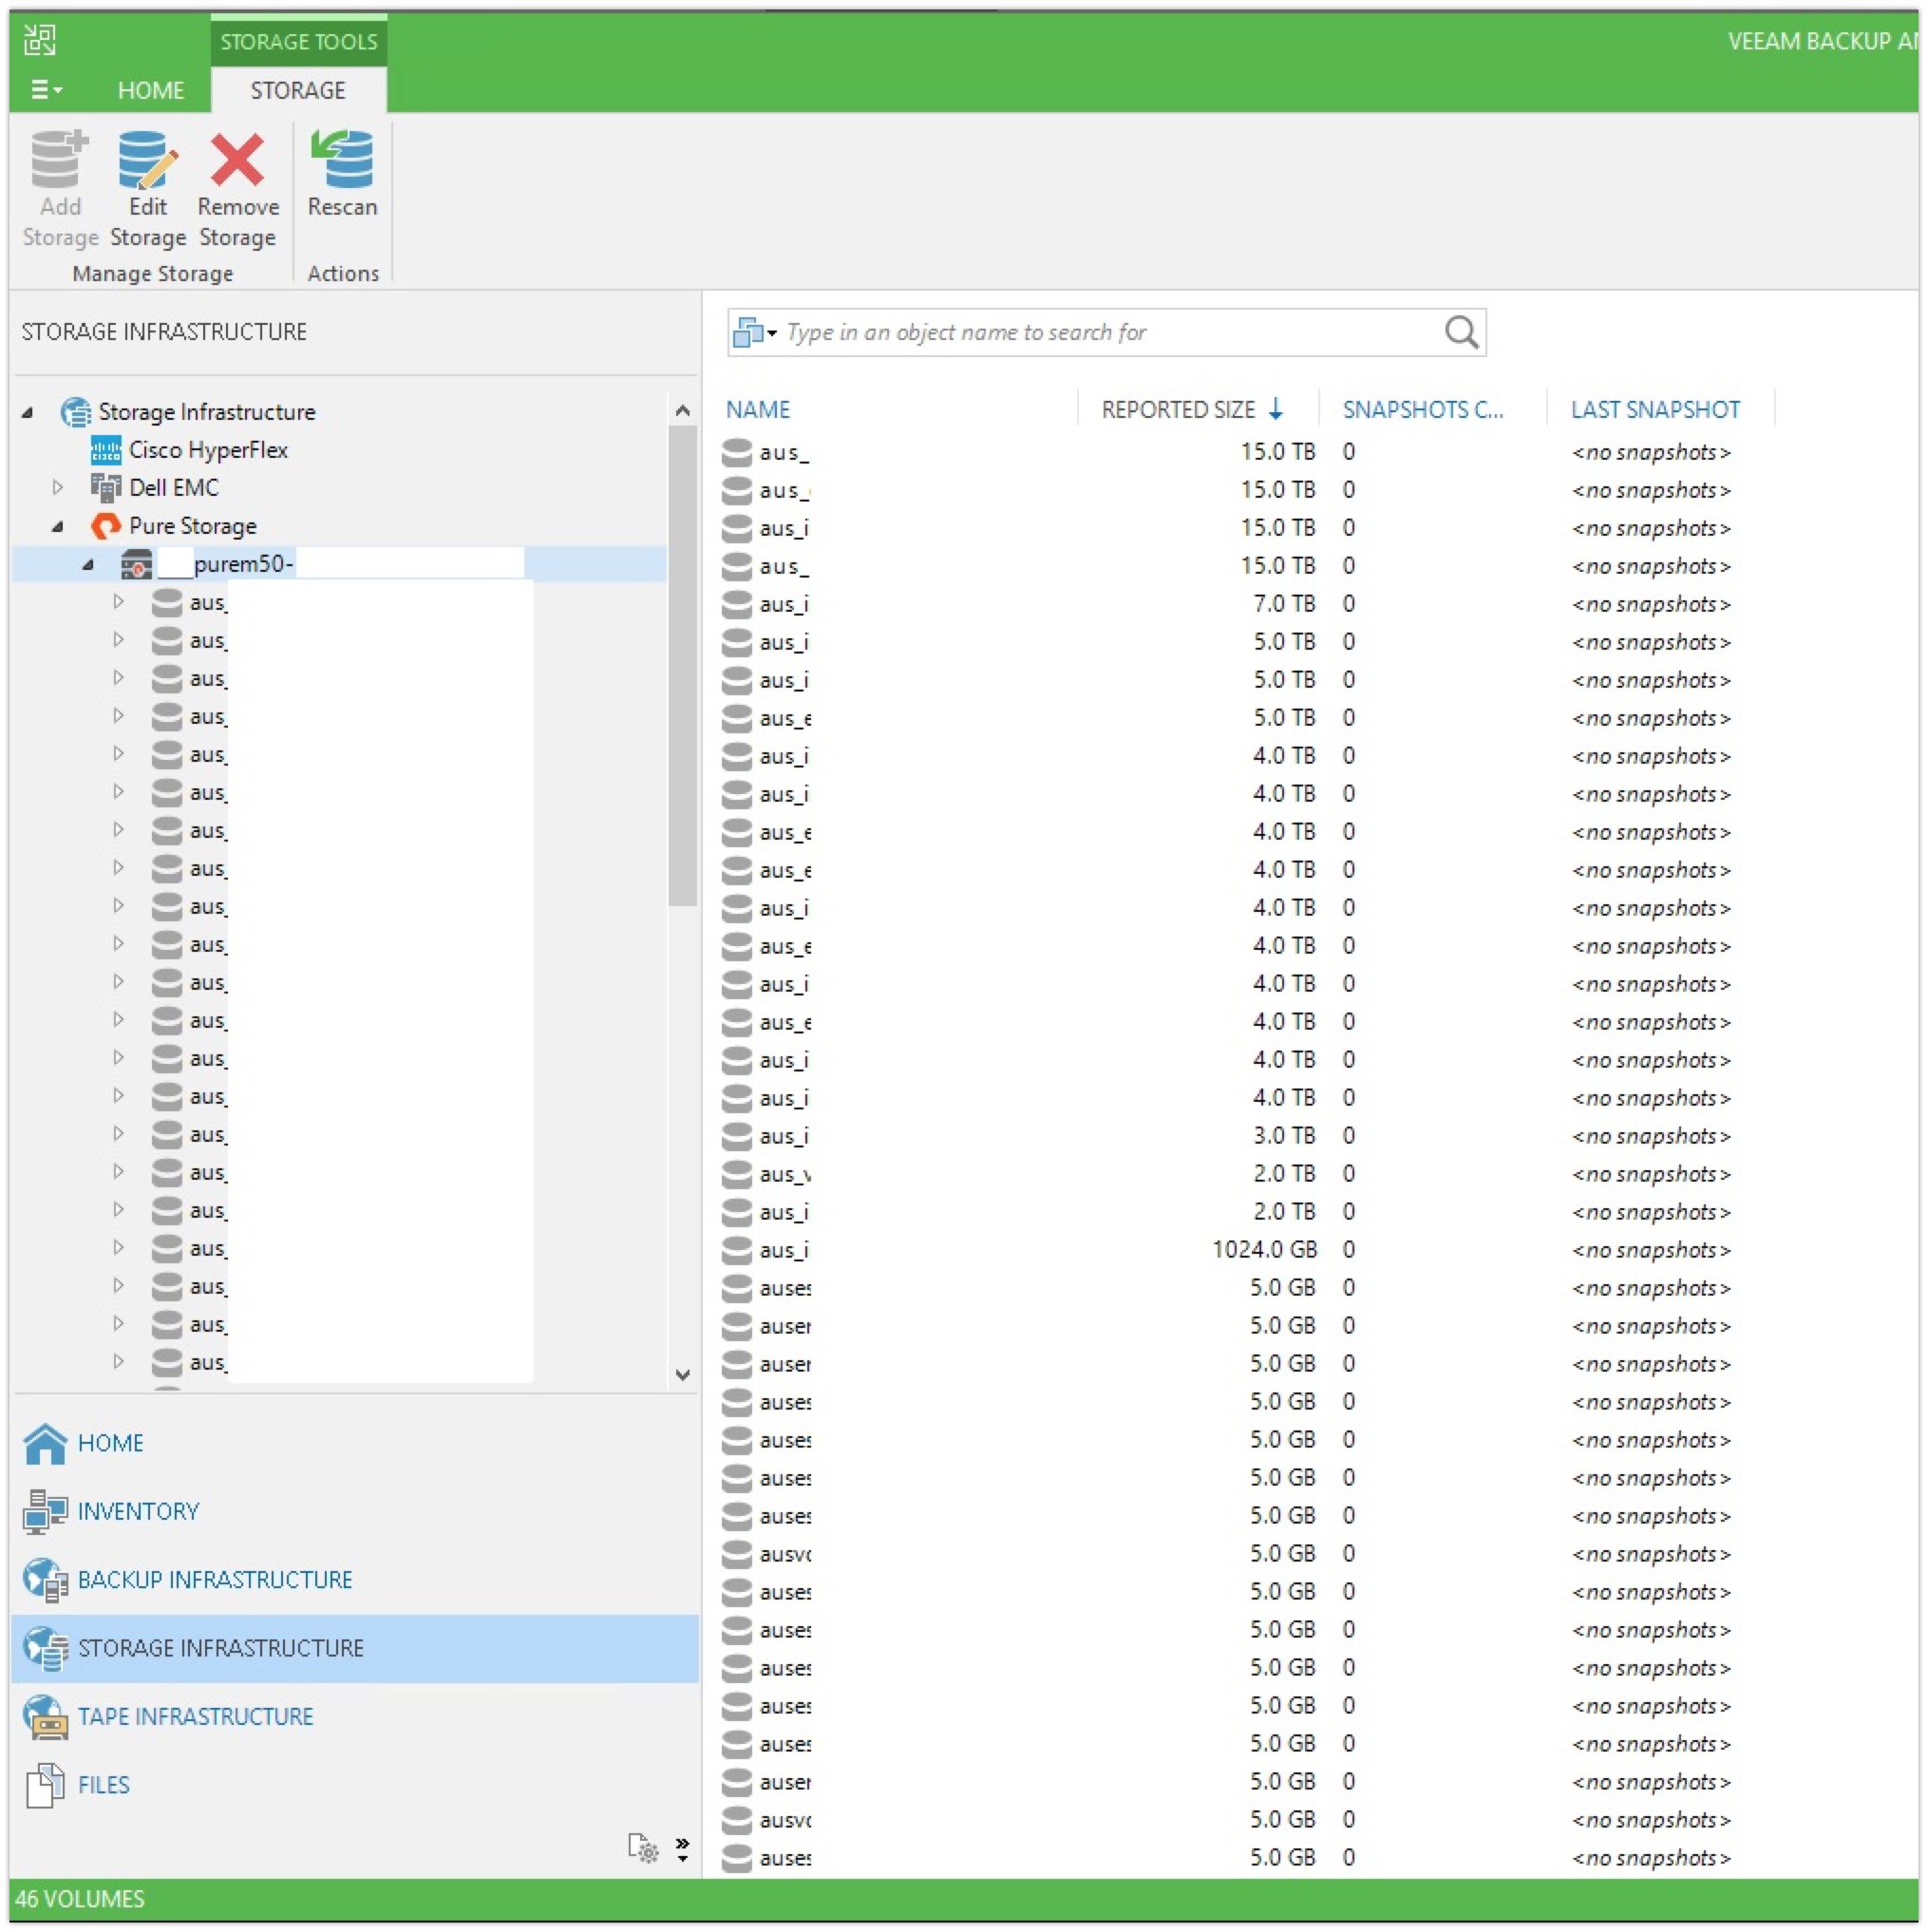
At this point, your installation and integration are complete. Within the Storage Infrastructure view, you can now expand out the Pure Storage node, then expand the node for your newly discovered array. This will show your volumes and details of any snapshots detected by Veeam. (Would you look at those sweet new icons also…!!)
My next post will cover more detail of the actual Pure Storage snapshots being used in a backup job. It will also include a performance comparison of a set of VMs being backed up with both VMware and storage snapshots across EMC VNX5800, EMC Unity 650F, Cisco HyperFlex and a Pure //m50 array.
Thanks for reading.